
NetEase AI Workflow
UX Design Intern, May 2026-Aug 2026
-My Role-
AI Workflow Design / AI-Readable Design Knowledge / Skill Iteration / Combat HUD Validation / Team Enablement
-Project Goal-
Build, Validate, and Scale an AI UX Workflow for the Team
-Outcome-
12H+ TIME SAVED
80% MATCH TO IDEAL
600+ SCREENS INDEXED
Overview
Applied AI to real combat UX work: requirement analysis, design framing, and knowledge retrieval.
Built an AI-readable component system, then improved reliability through historical-screen reuse and Skill iteration—forming a reusable AI-assisted UX workflow.
12h+
saved from brief to low-fi
5h+
saved in high-fi & handoff
≈8$
AI cost for all combat screens
600+
live screens turned into a Pattern DB
Why Add AI to UX Workflows?
Product
Layer
Workflow Layer
Team System Layer

Screens, components, patterns, and guidelines.
01 | Mature System × Rich History
AI handles repeat work so designers focus on judgment.
03 | Repetition × AI Automation
Turn task learning into teams knowledge.
04 | Individual Speed × Team Capability
A stable UI system.
02 | Mature Style × Clear Guardrails
My Approach
1
AI’s Role
in the Design Process
2
Test Human × AI
in Combat Design
3
Make Knowledge
AI-Ready
4
Toward a Sustainable
AI Design System
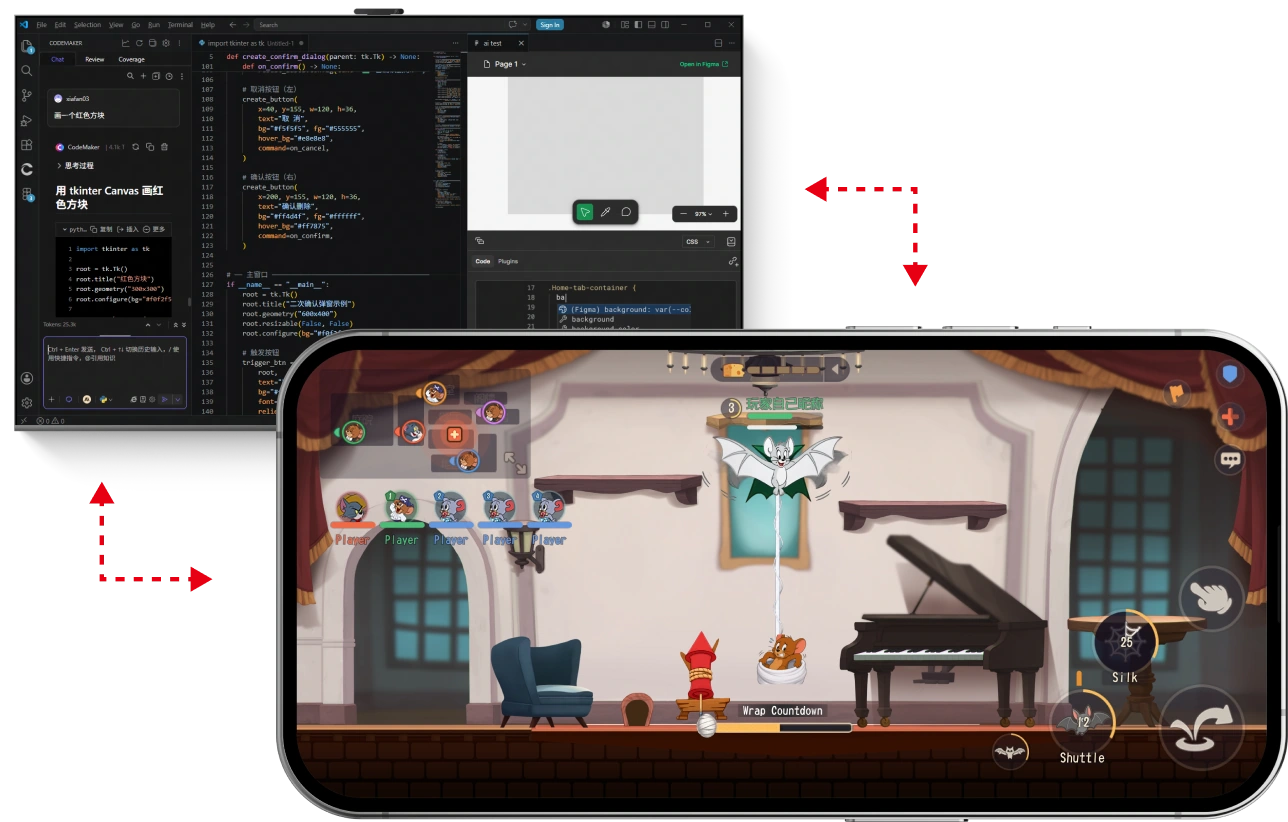

AI’s Role in the Design Process
1
Game UX spans requirements, interaction, visuals, and implementation—through review, revision, and validation.

PHASE 1 · Requirements & Low Fidelity








Revise

Pass

Kickoff
Requirements

User Research
Rivals

Information
Architecture
Low-Fi
Prototype
Interaction
Flow

Internal
Review
New Request
Qualified




PHASE 2 · High Fidelity & Handoff

High-Fi
UI Design

Visual Style
Explore

Hi-Fi Interaction
Prototype
(if needed)
Design
Review
Design Specs



Assets &
Exports
Dev Handoff
Dev Follow-up
UI QA
Acceptance
Adjust
Failed

Team Review Flow

PHASE 3 · Launch & Iterate


Acceptance
Results
Release

Usability Test
Data Analysis
User Feedback
Collection
Iterate
Continuous
Improvement
Where AI Saves Time
Estimated, per phase, based on this case

Validate Human × AI in Combat Design
2
AI understands the brief; the designer defines the design problem.
AI:
Read / Extract / Classify / Map
Designer:
Validate Gameplay / Define UX Needs
One table organizes the interaction designer’s core outputs.
A long GDD and spreadsheets are hard to read.
Before
Now
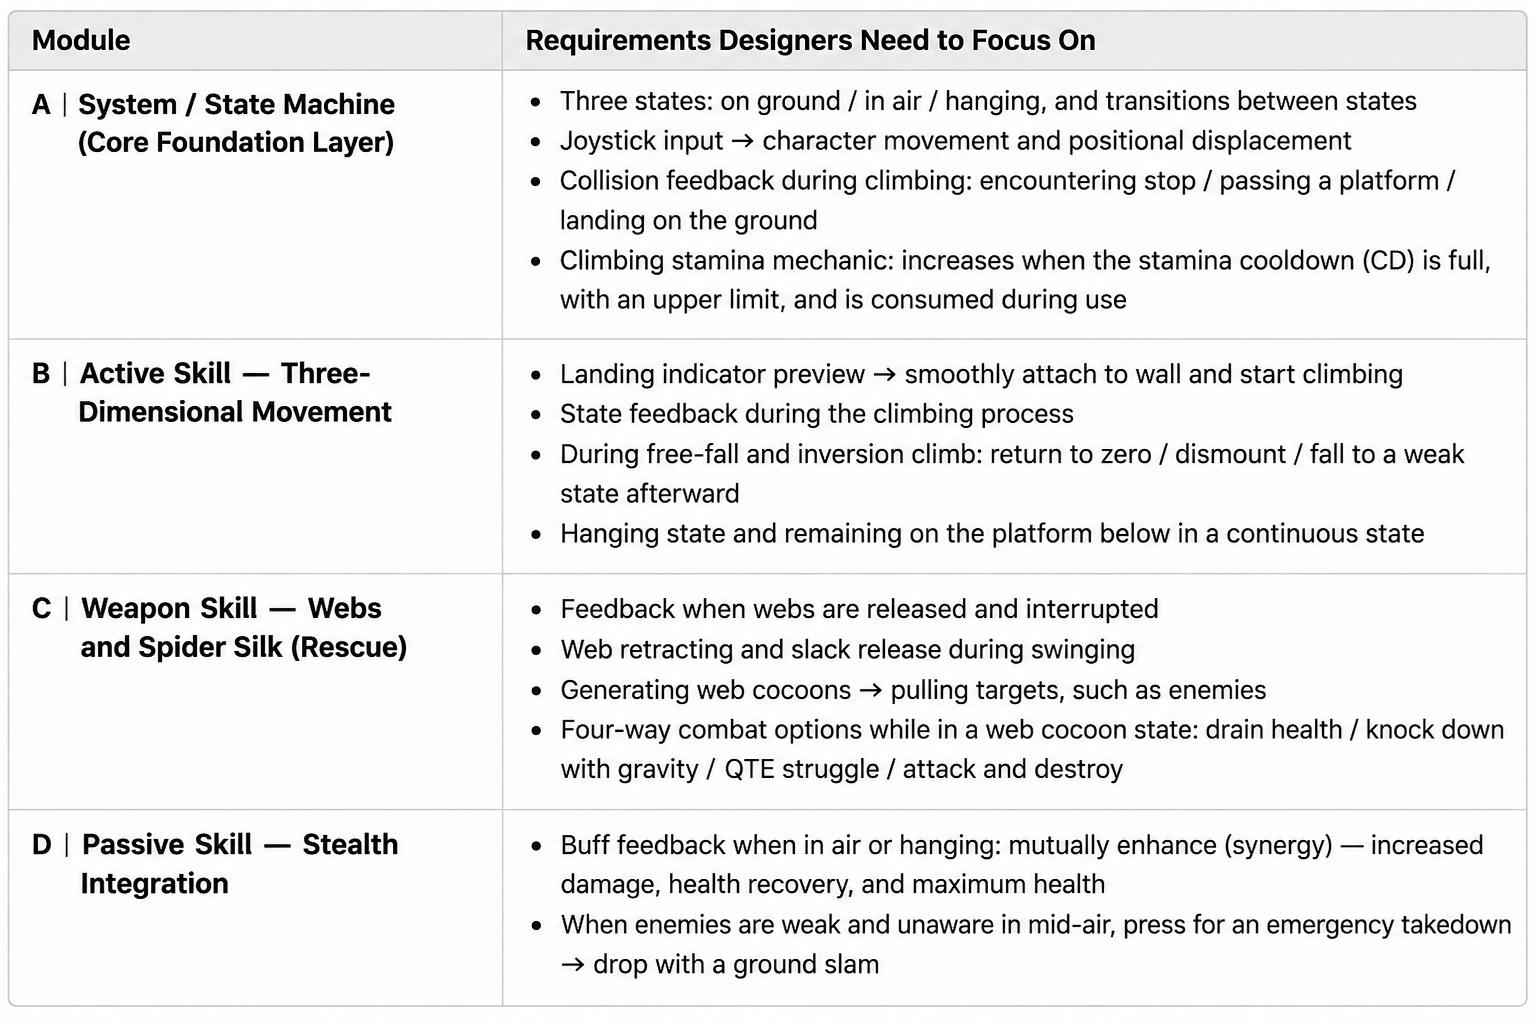

2.1 From Product Brief to UX Problem
2.2 From History to First Proposal
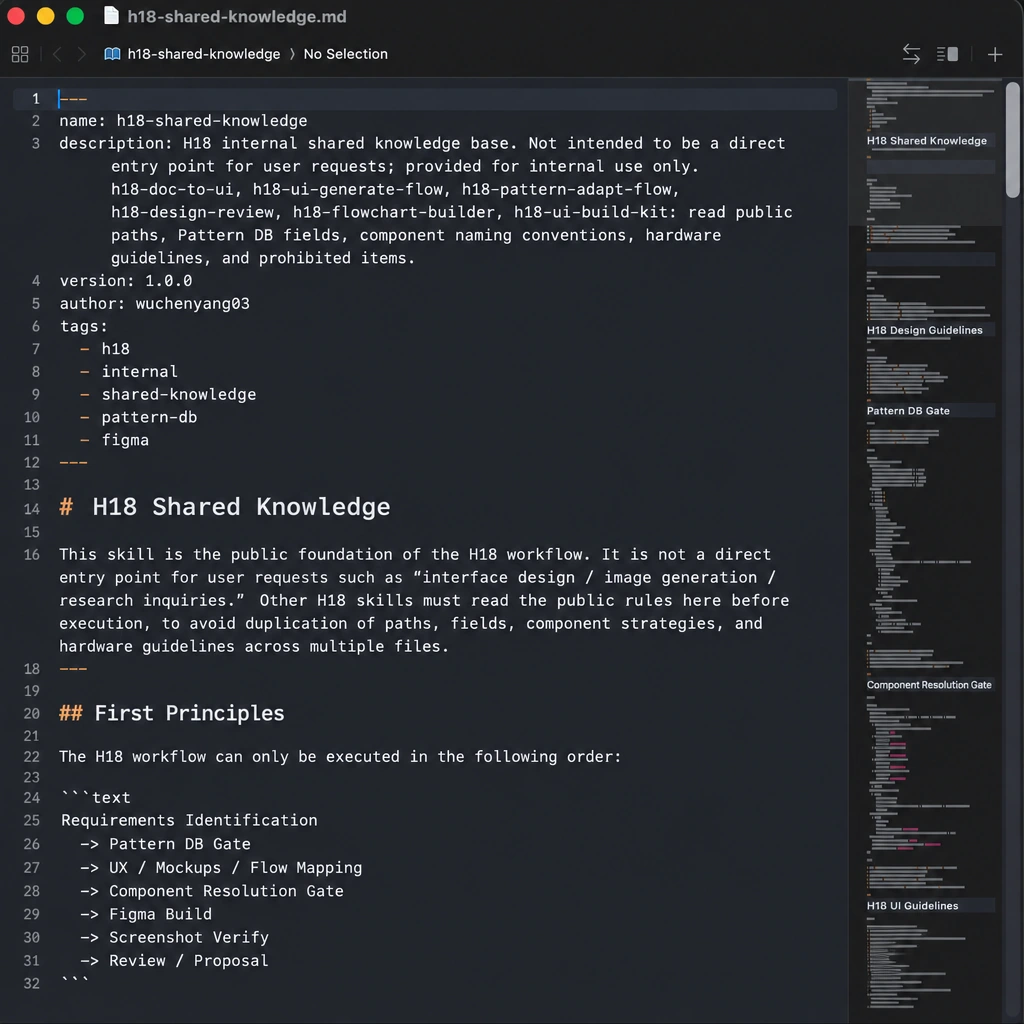
Step 1: Load Shared Knowledge
Shared knowledge covers historical screens, guidelines, component docs, and constraints.
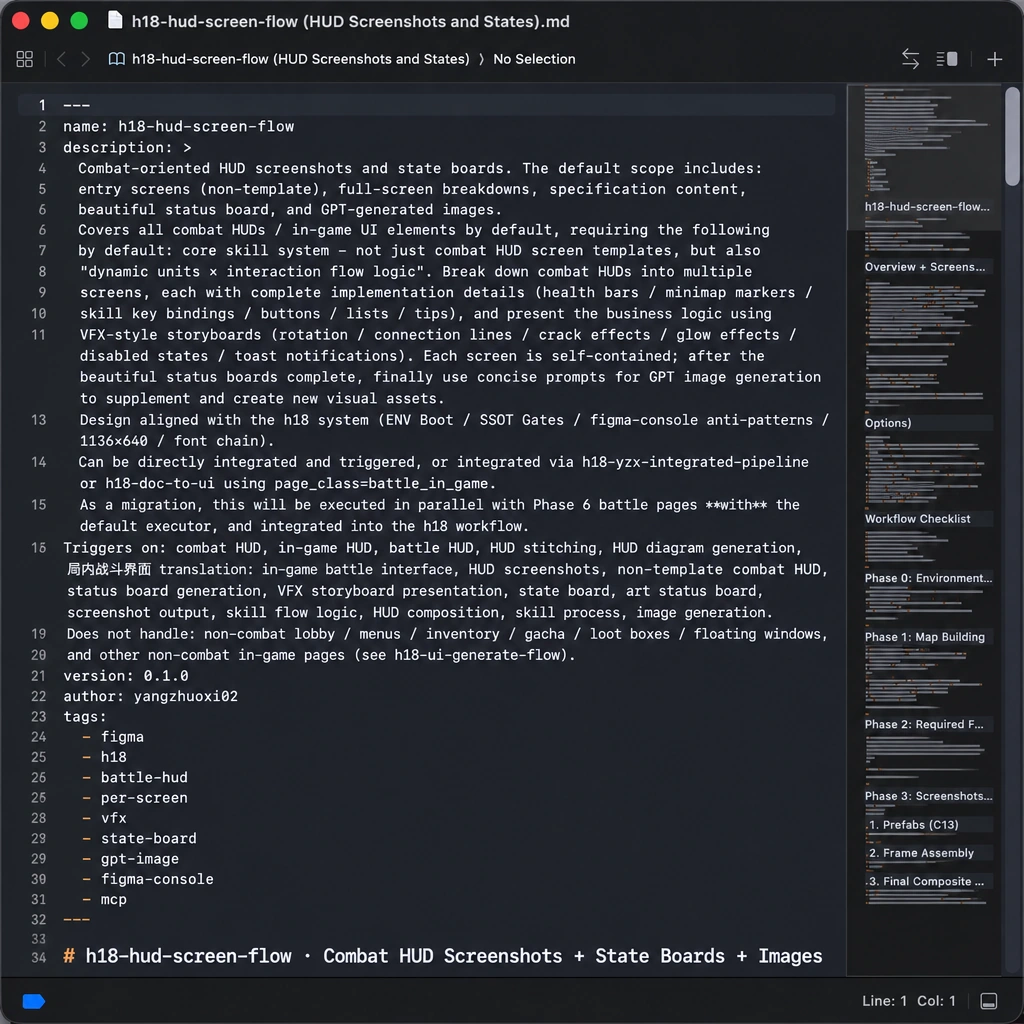
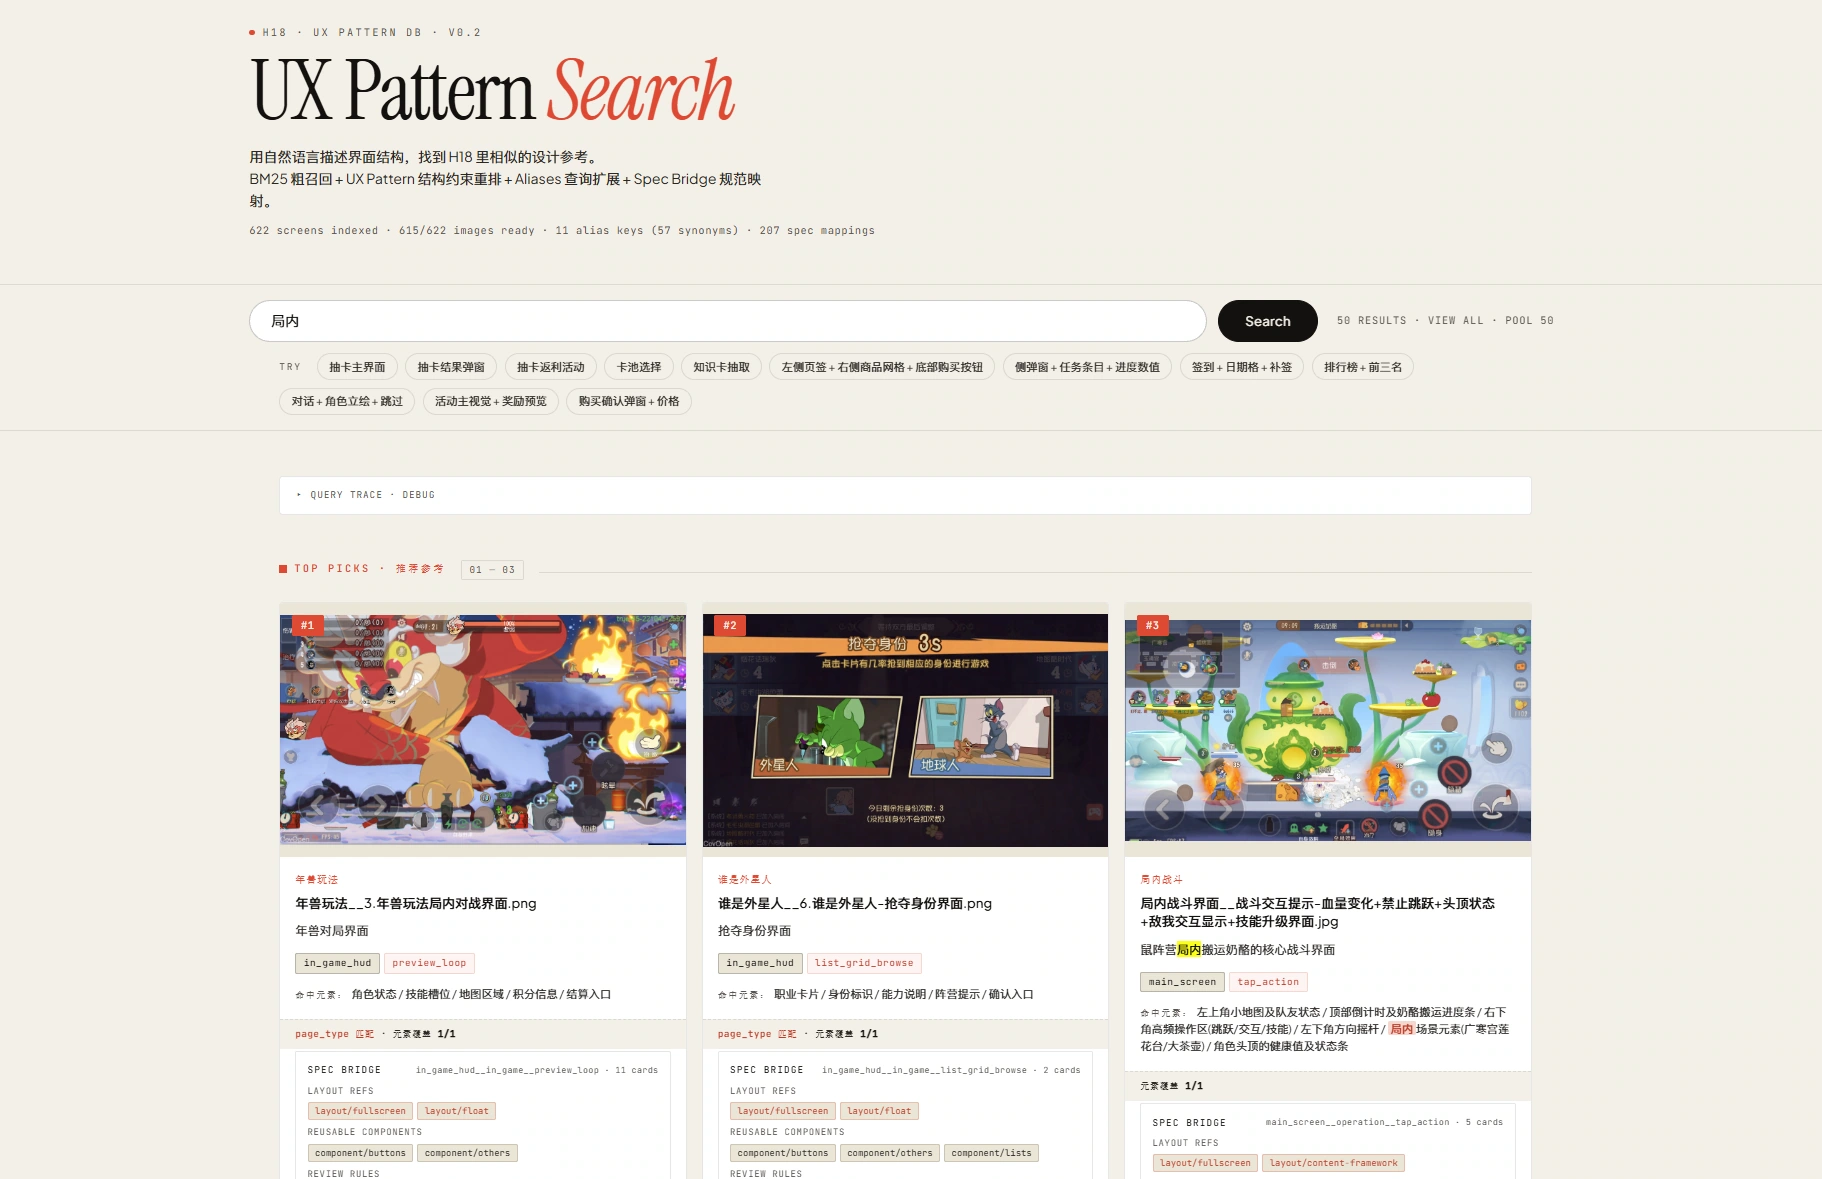
Use a Skill to search the Pattern library and save reusable screens for review.
Step 2: Find References
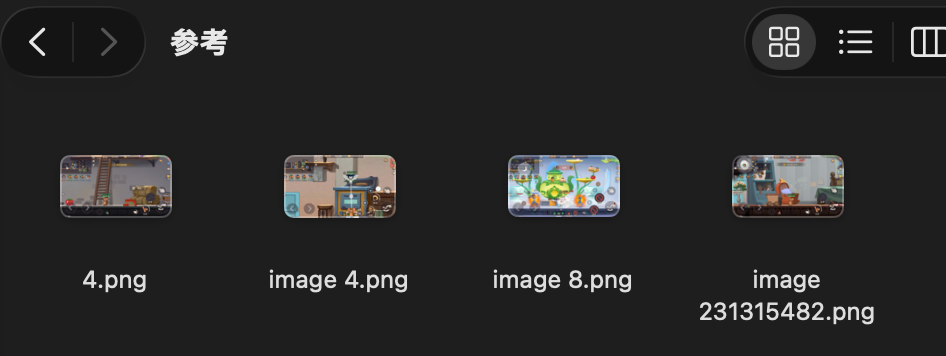

Use guidelines and references to create a text prototype first—faster, cheaper, and easier to catch AI errors.
Step 3: Build the Prototype
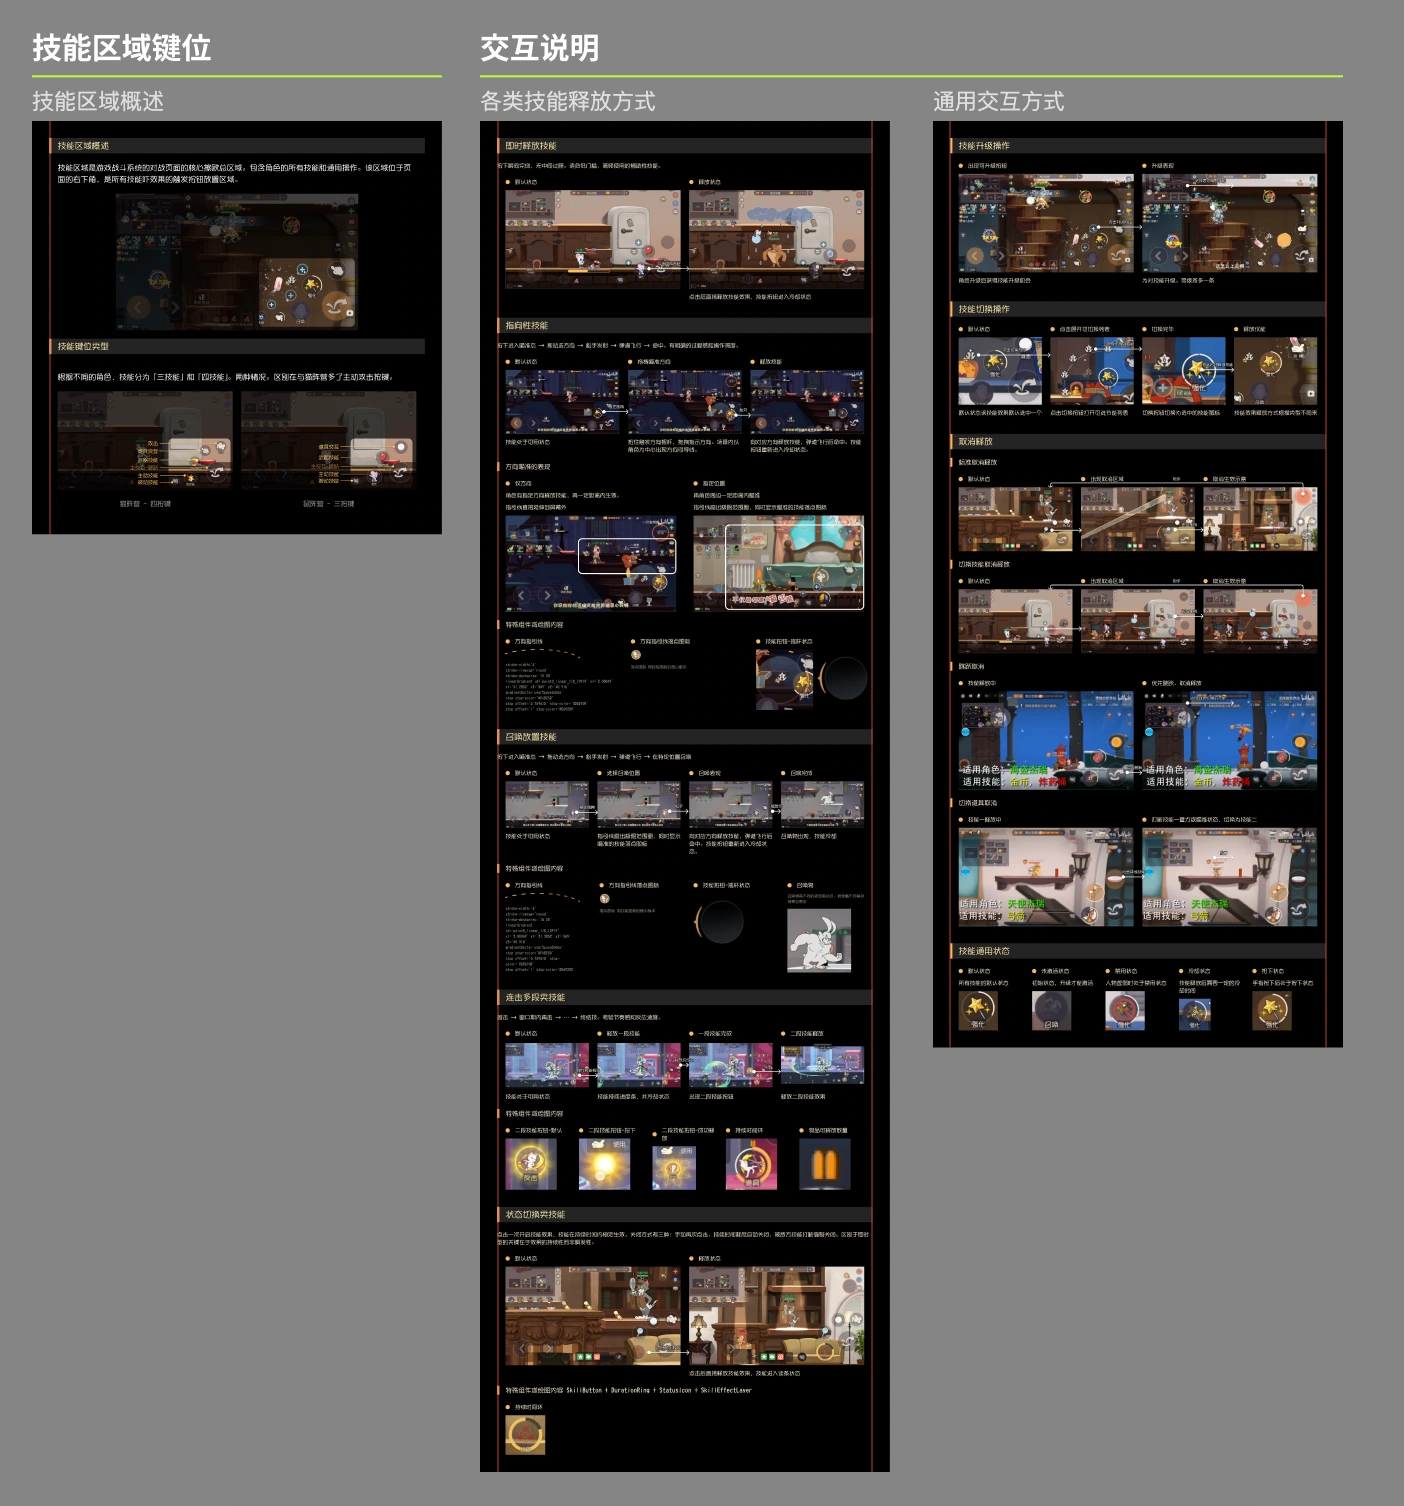
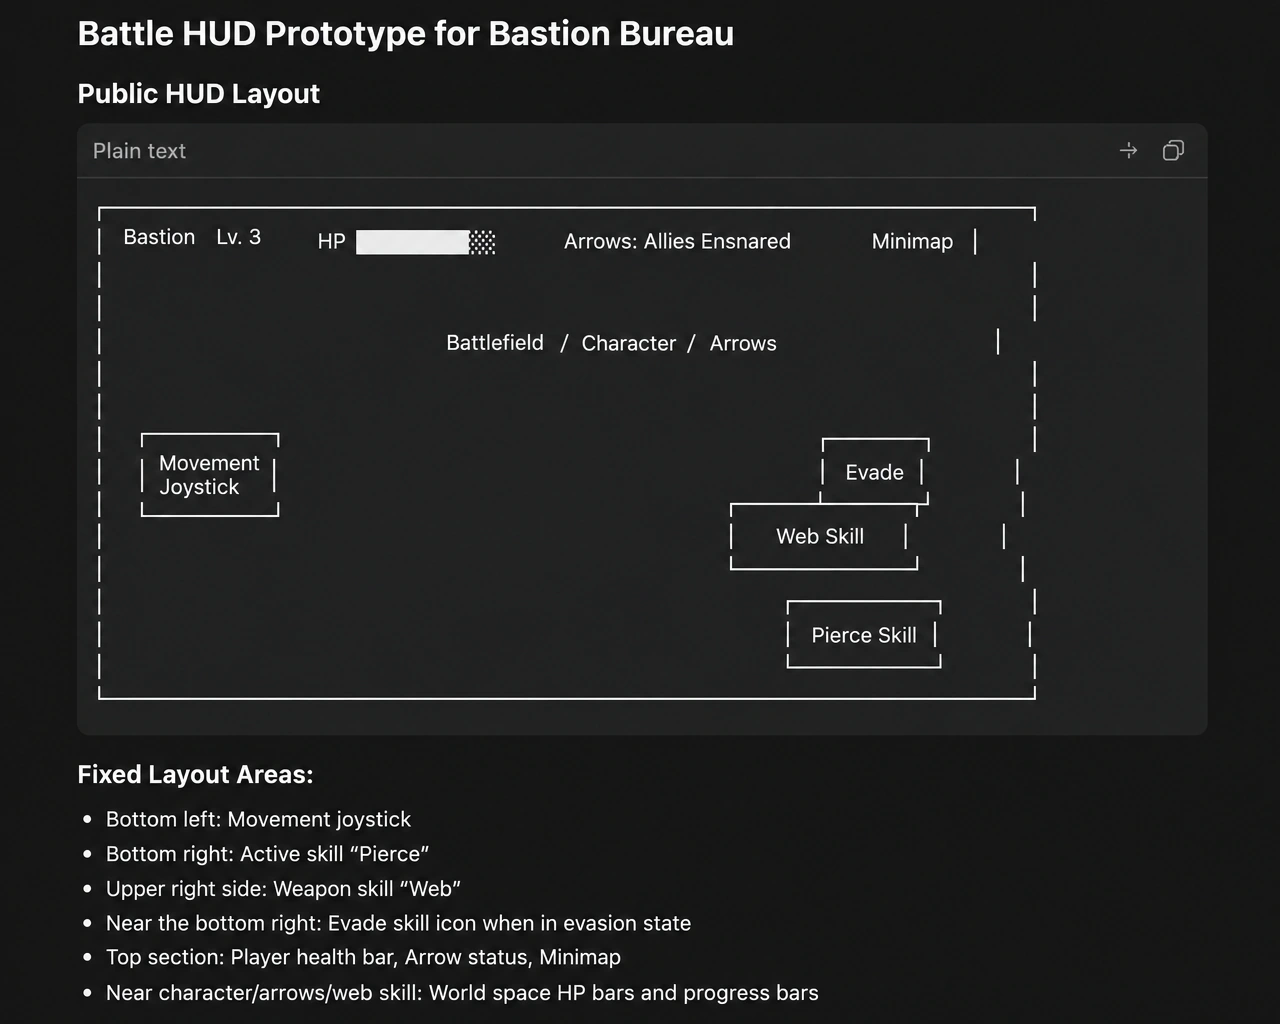
After approval, AI uses Figma MCP to build screens and states with components, then self-reviews against guidelines.
Example: F2 | Active 3D Movement · Joystick Aim
Build with
Components
Step 4: Build Low-Fi in Figma + Internal Review
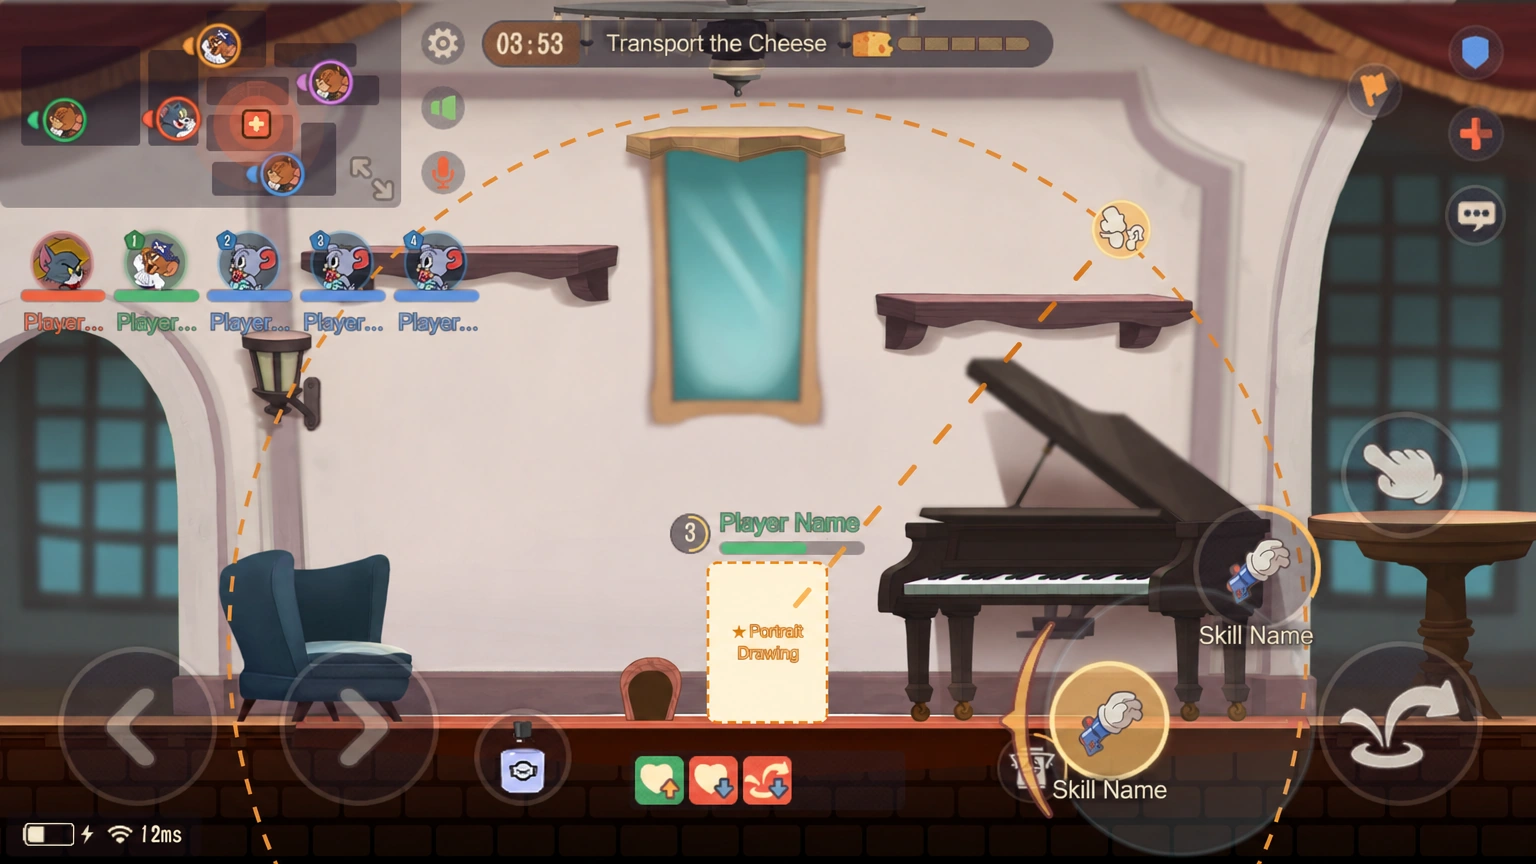
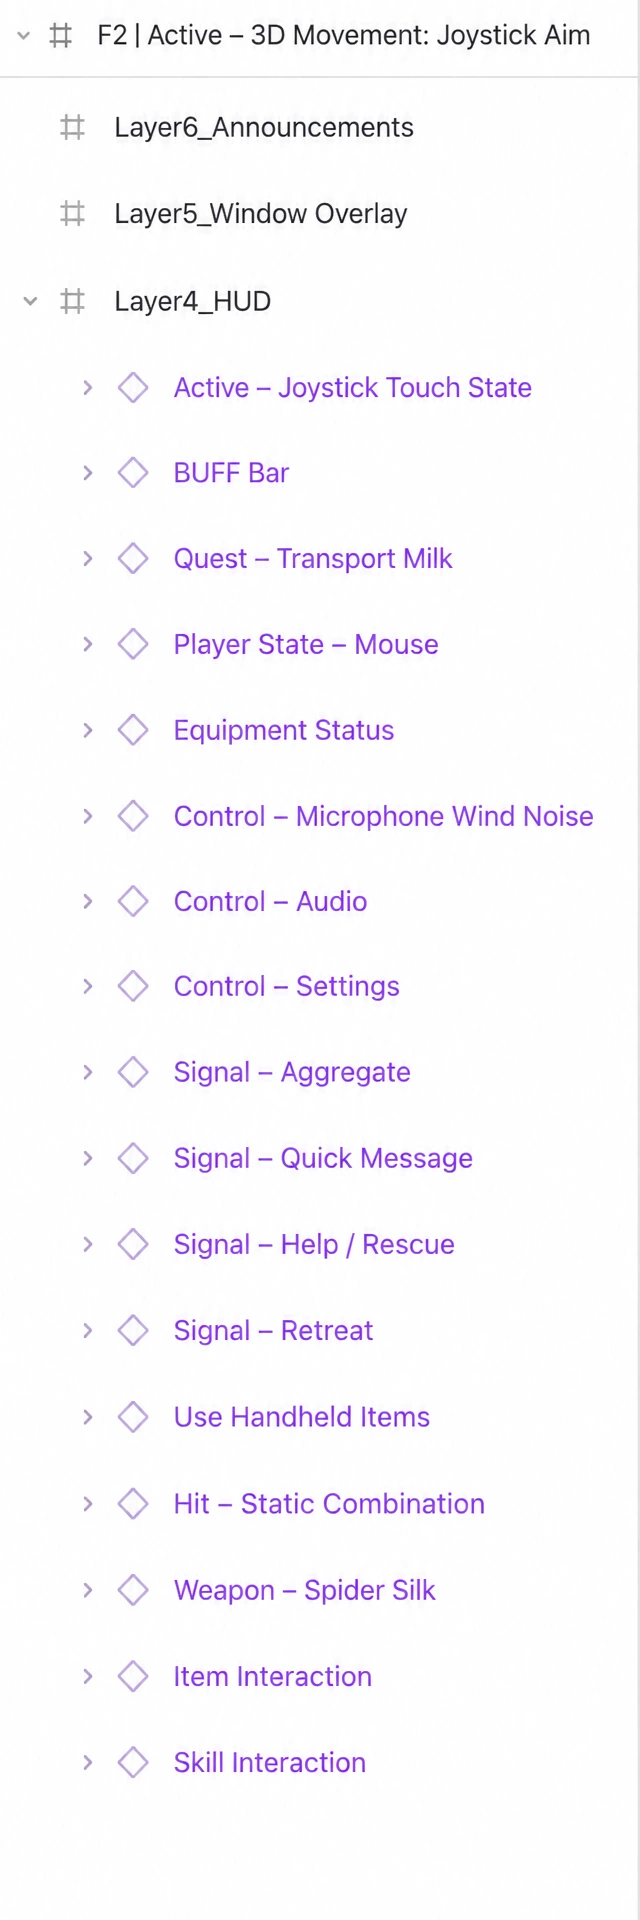
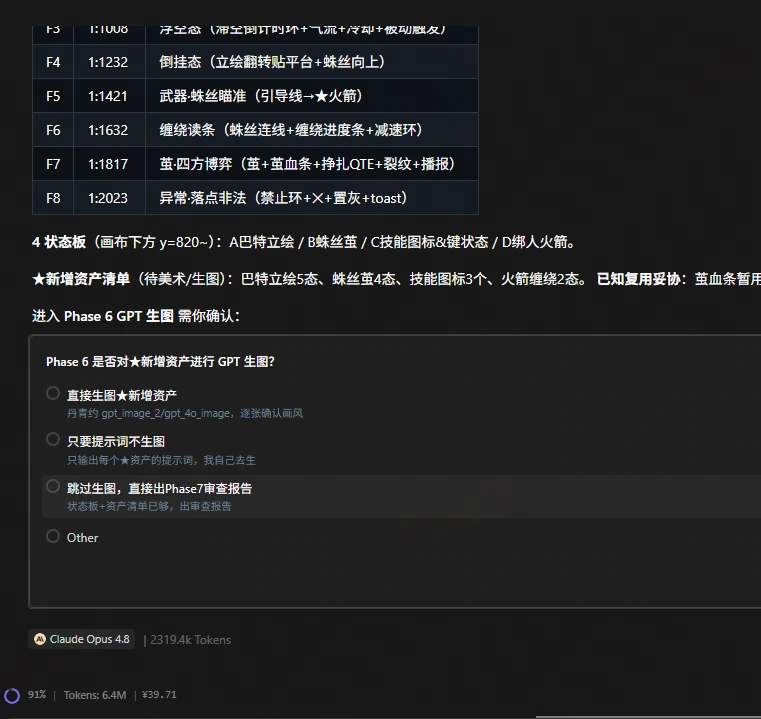
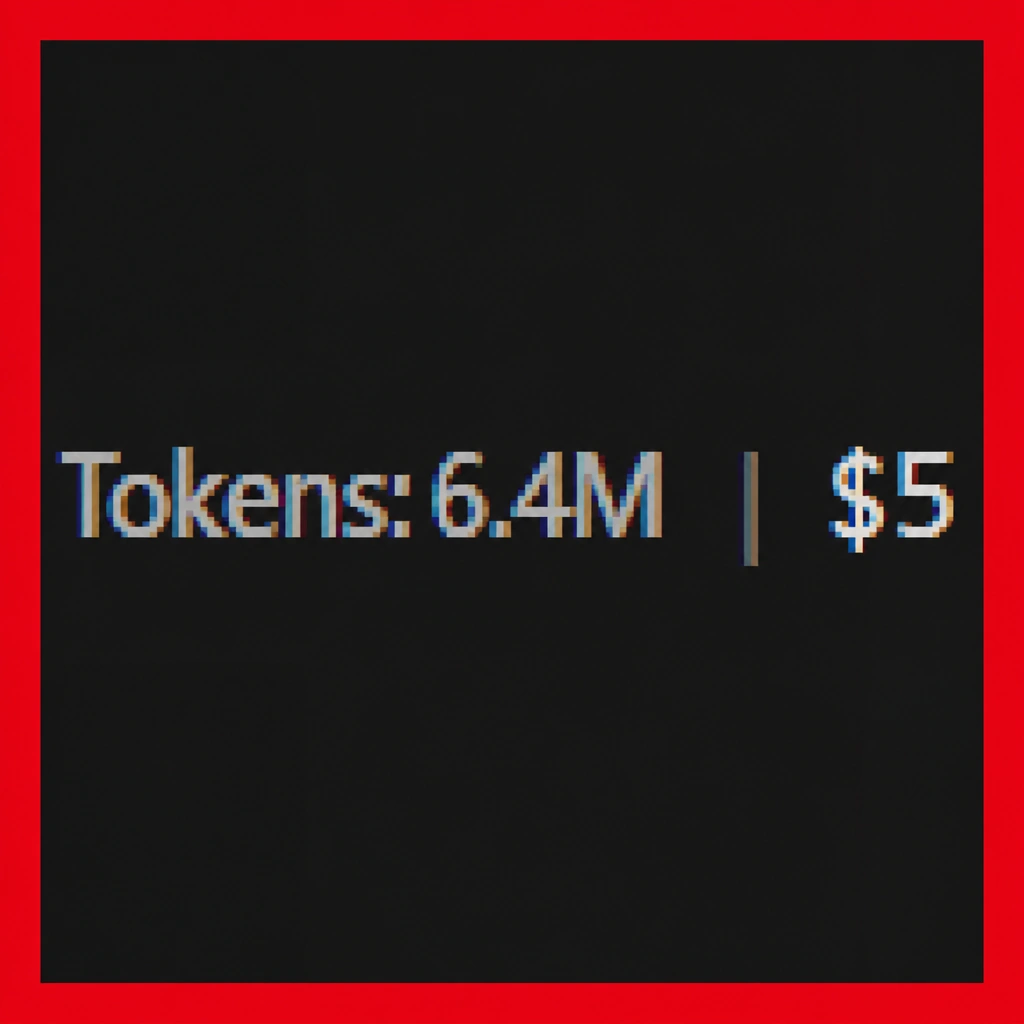


So far, about the price of one coffee.
AI:
Find similar solved problems / propose a first approach
Designer:
Judge relevance / decide reuse vs. redesign
AI retrieves experience and references, builds a draft, then uses Figma MCP, components, and templates to assemble the screen.
2.3 Human × AI Co-Design
AI accelerates building; designers own context and experience decisions.
Step 1: Refine the AI Prototype
1
Too many components
Only needs a template group in the library.
2
Special states
Some components don't appear in every state.
3
AI hallucination
Misreads or omissions.
4
Visual details first
Generate recurring details and state boards before full screens.
Issue 1: AI fixes it with a template.
Issues 2–4: need designer judgment.
Step 2: Complete States, Transitions, and Exceptions
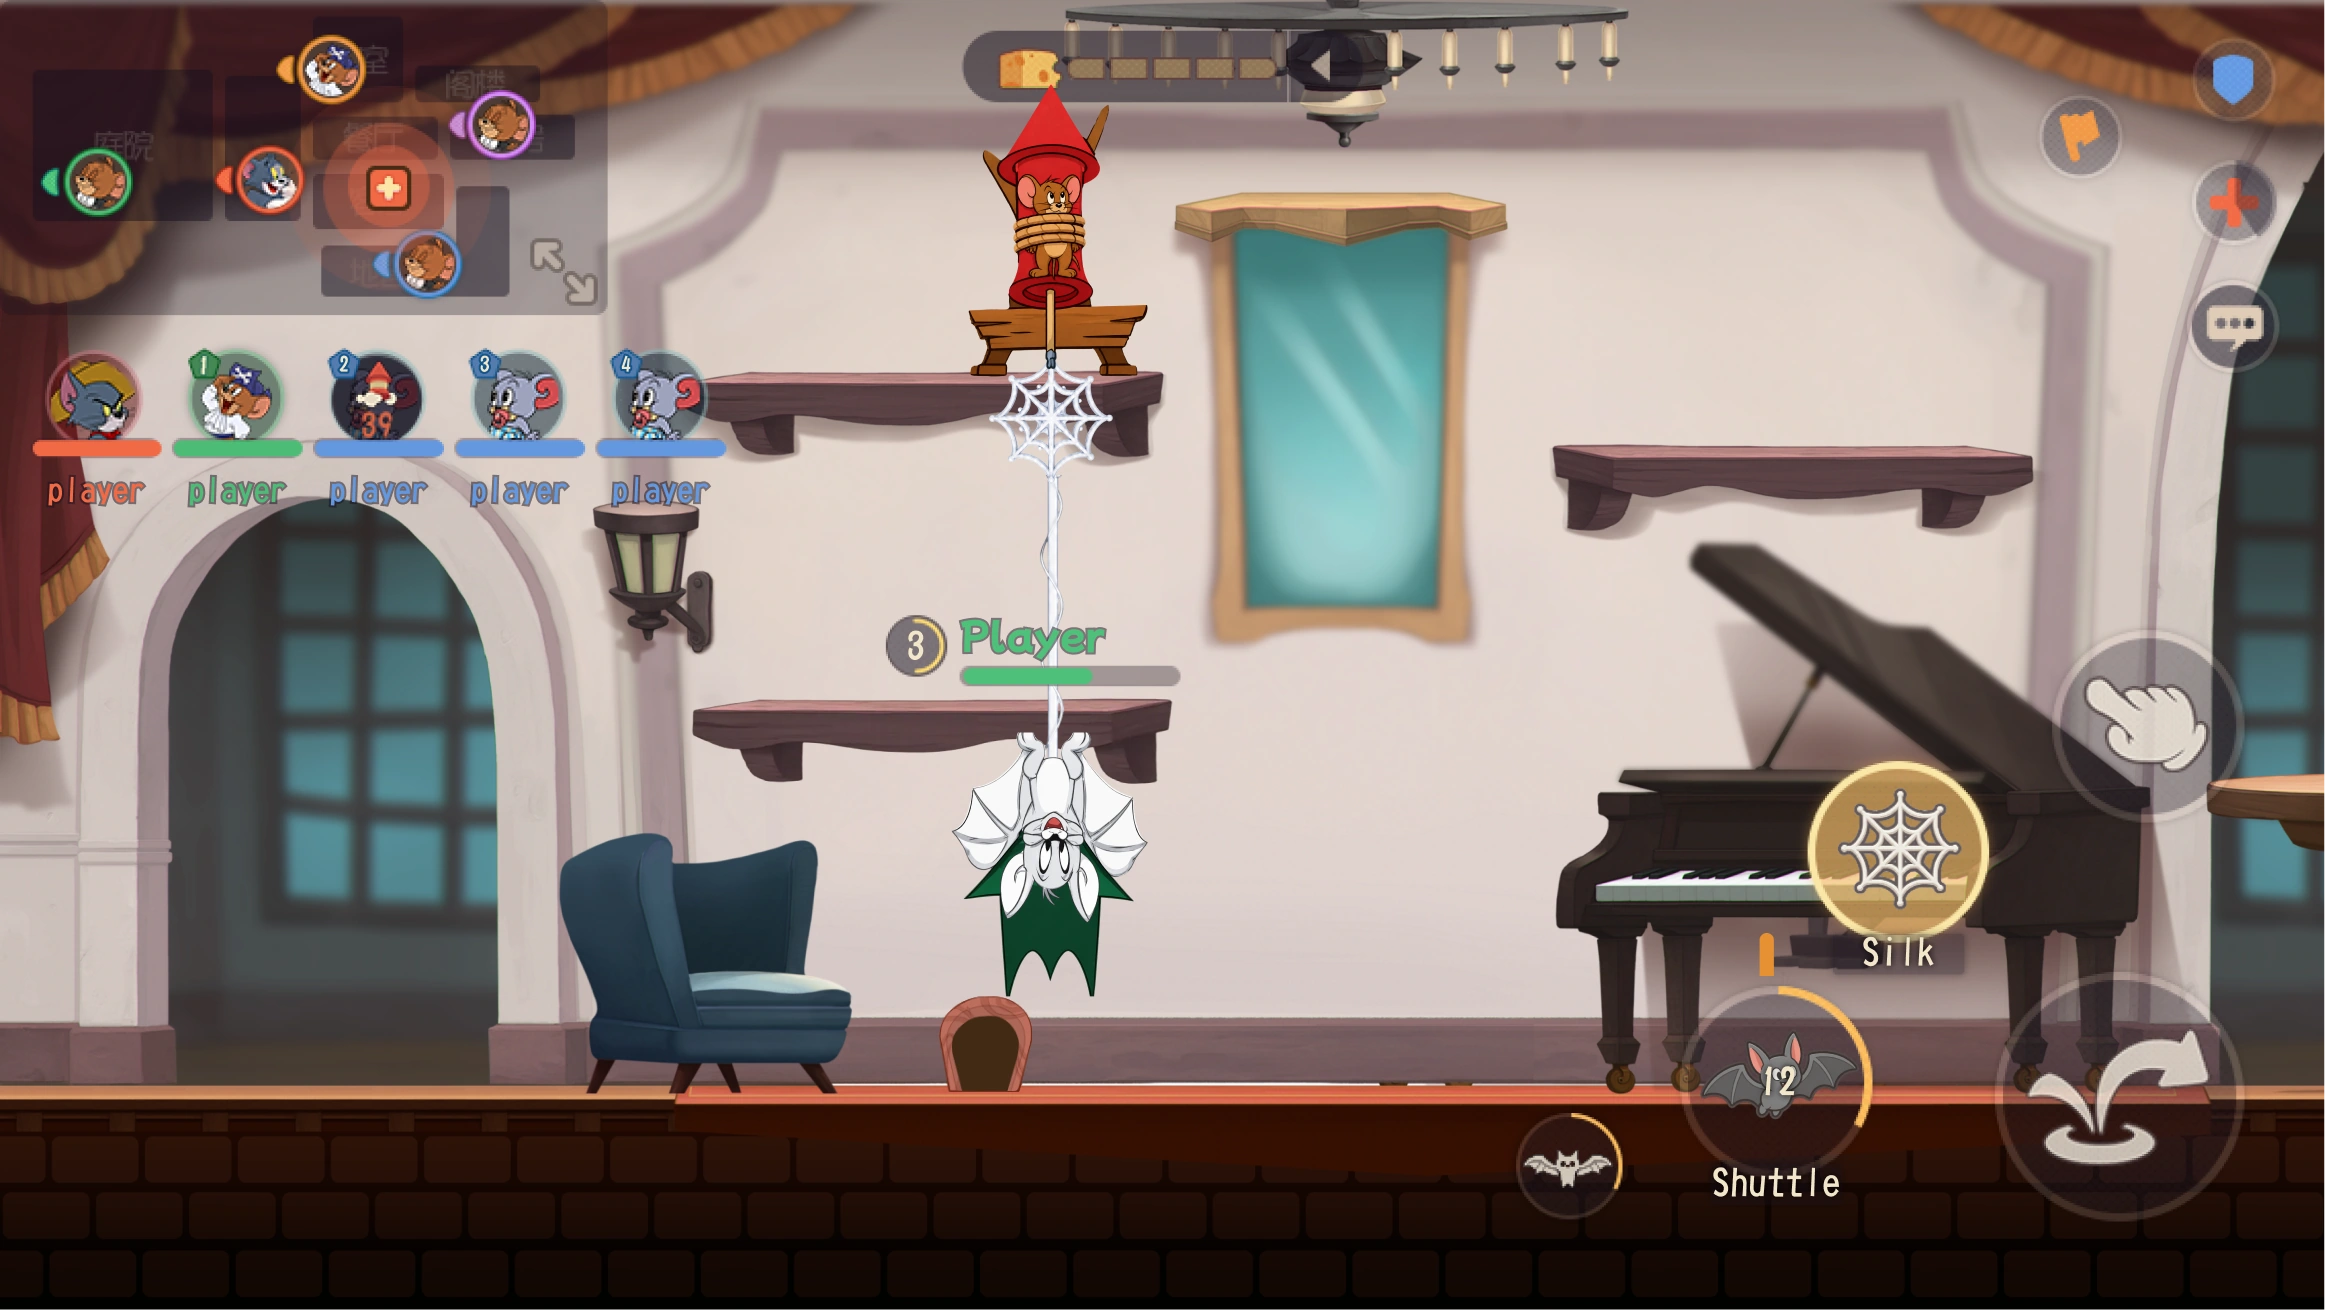
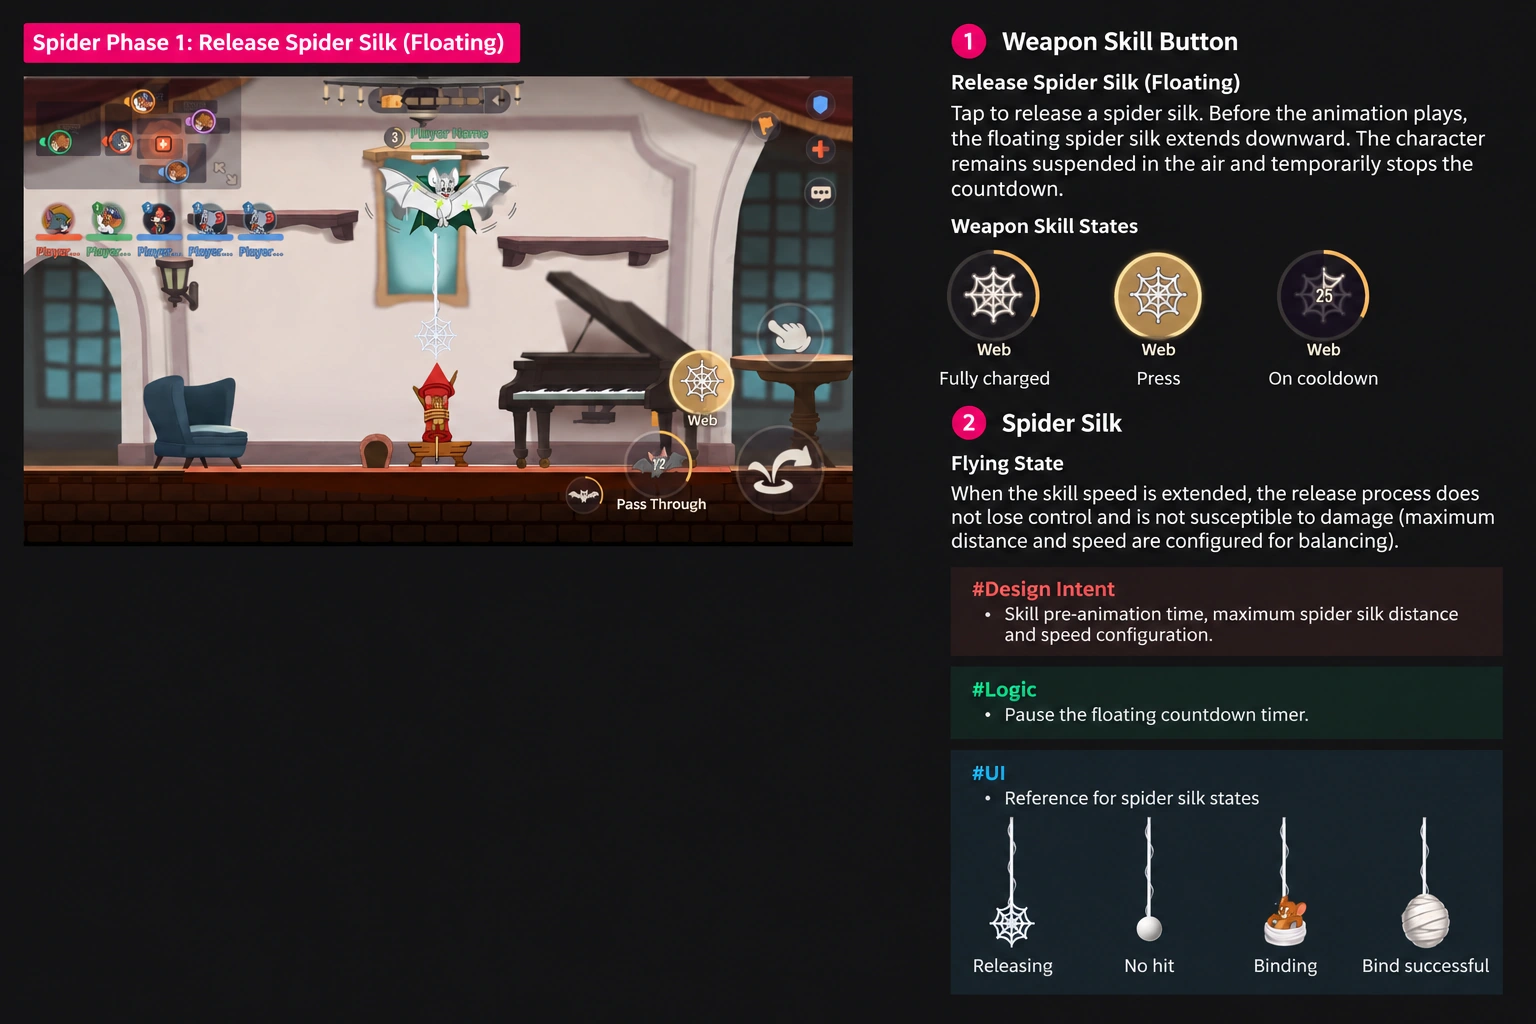
Web Stage 1: Release
(Upside Down)
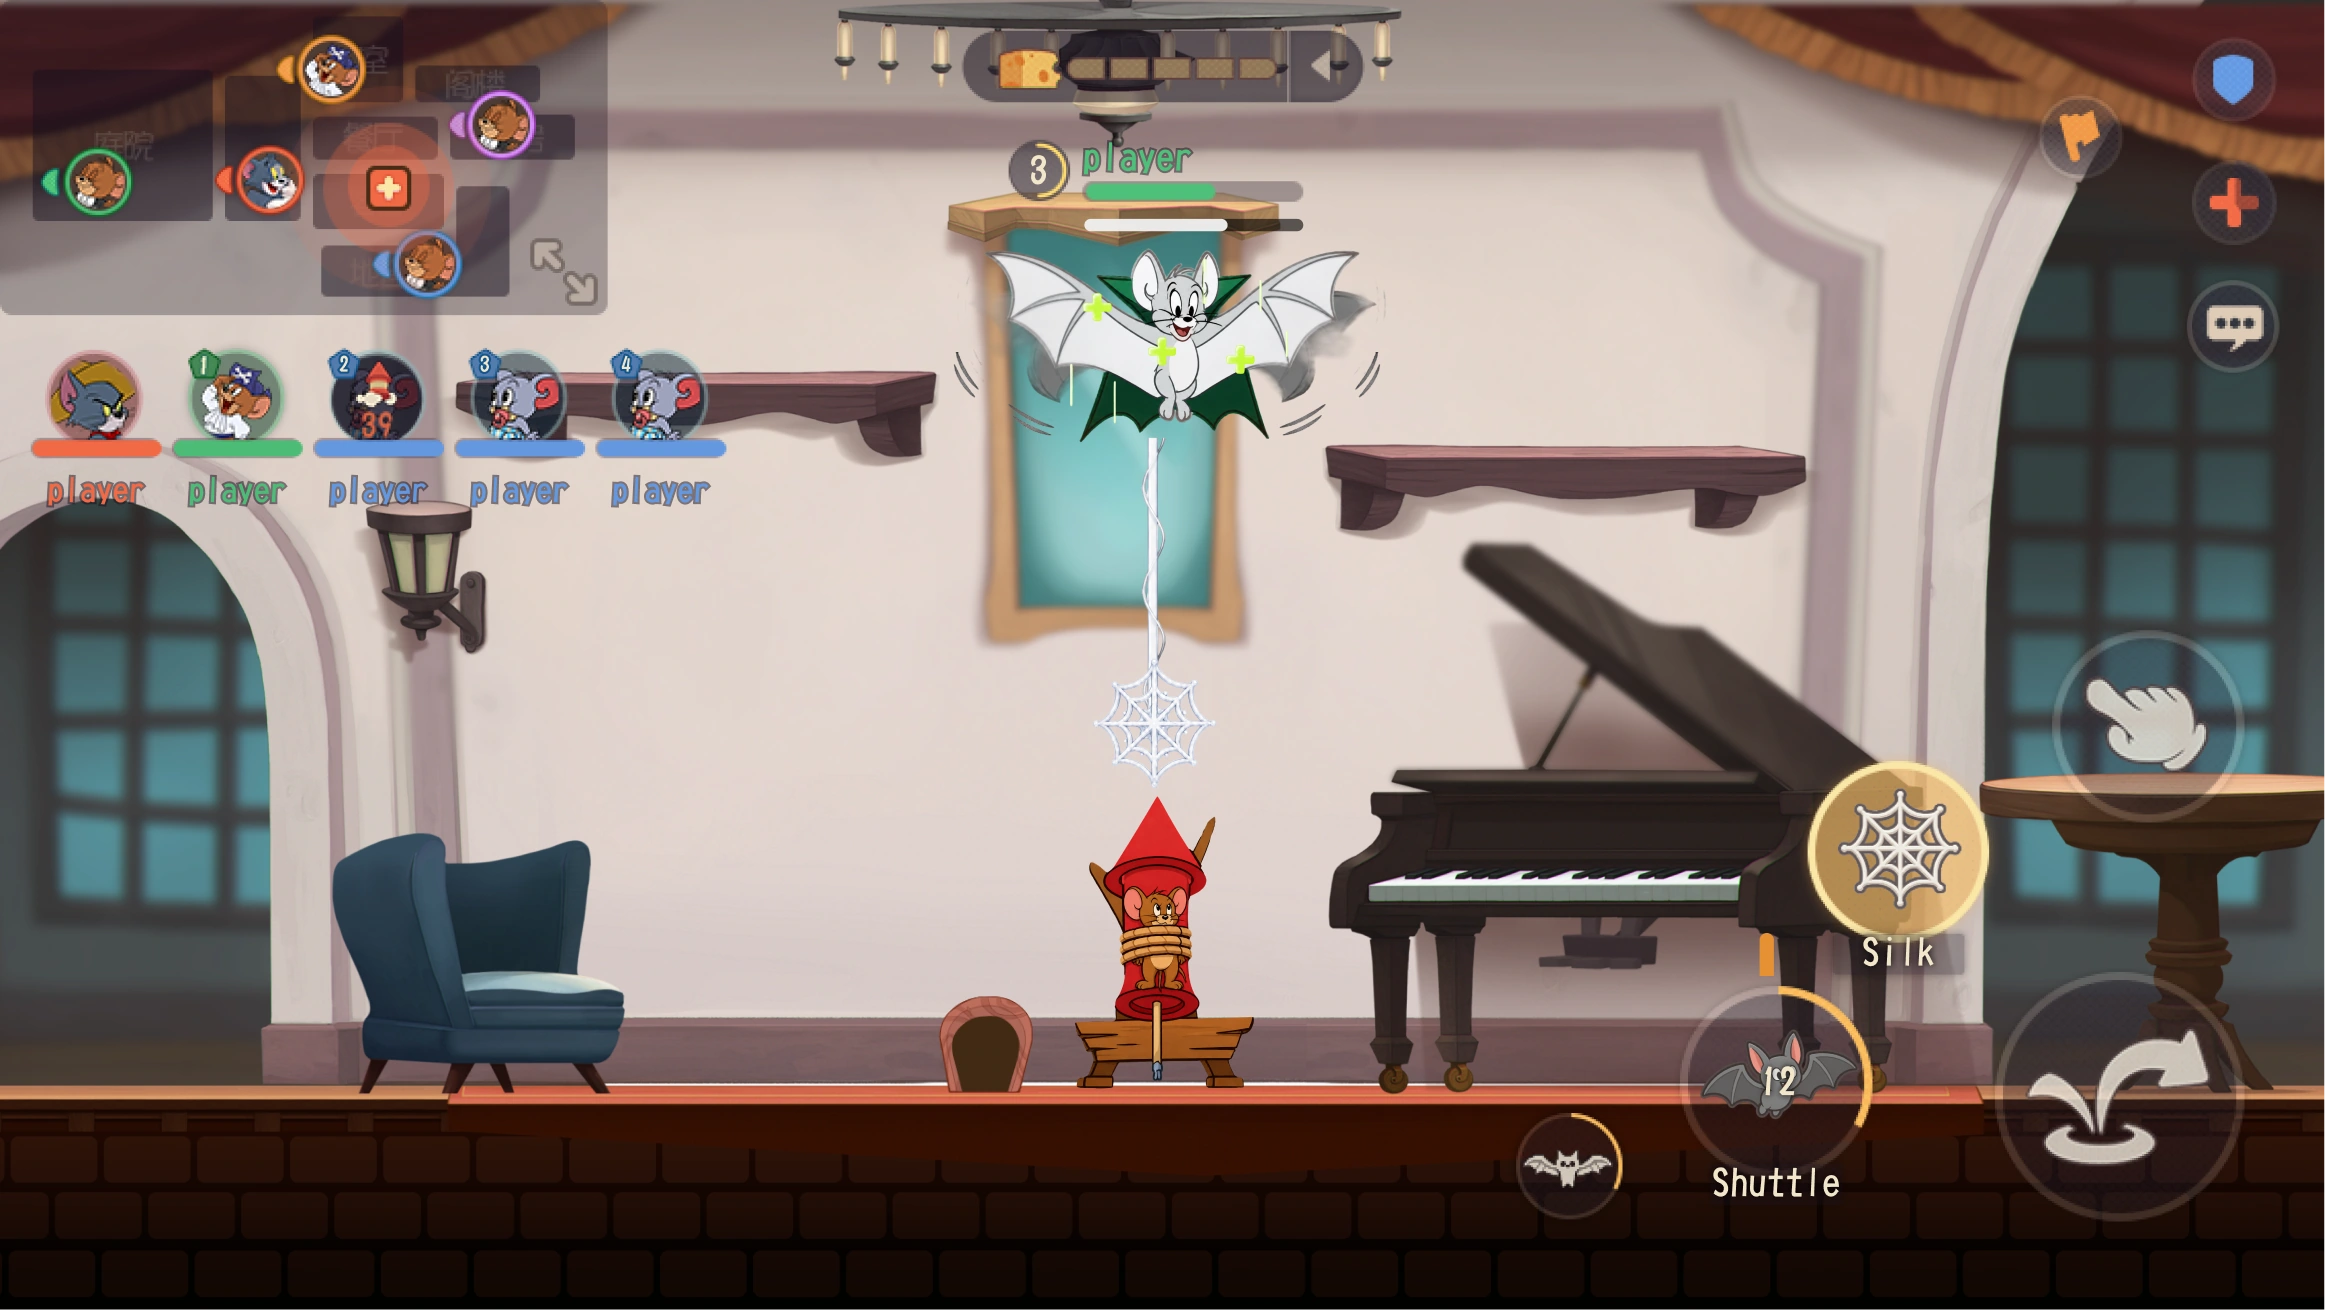
Web Stage 1: Release
(Airborne)
Release Skill


Interruptions &
Exceptions

Four-Way Standoff

Web Stage 2: Hit
Web Bind (Airborne)
Web Stage 2: Hit
Web Bind (Upside Down)
Web Stage 3: Hit
Pull Cocoon (Airborne)
Land
Web Stage 3: Hit
Pull Cocoon (Upside Down)
Edge Case: Target Off-Screen
[Cocoon Ally] Stage 2: Ally Escapes
[Enemy] Stage 2: Ally Captured
[Rescue Ally] Stage 2: Ally Escapes
[Enemy] Stage 1: Attack Cocoon
[Rescue Ally] Stage 1: Attack Cocoon
Fail: Miss
Fail: Rocket Launches First
Fail: Bart Stunned / Weakened
Fail: Ally Rescue Succeeds
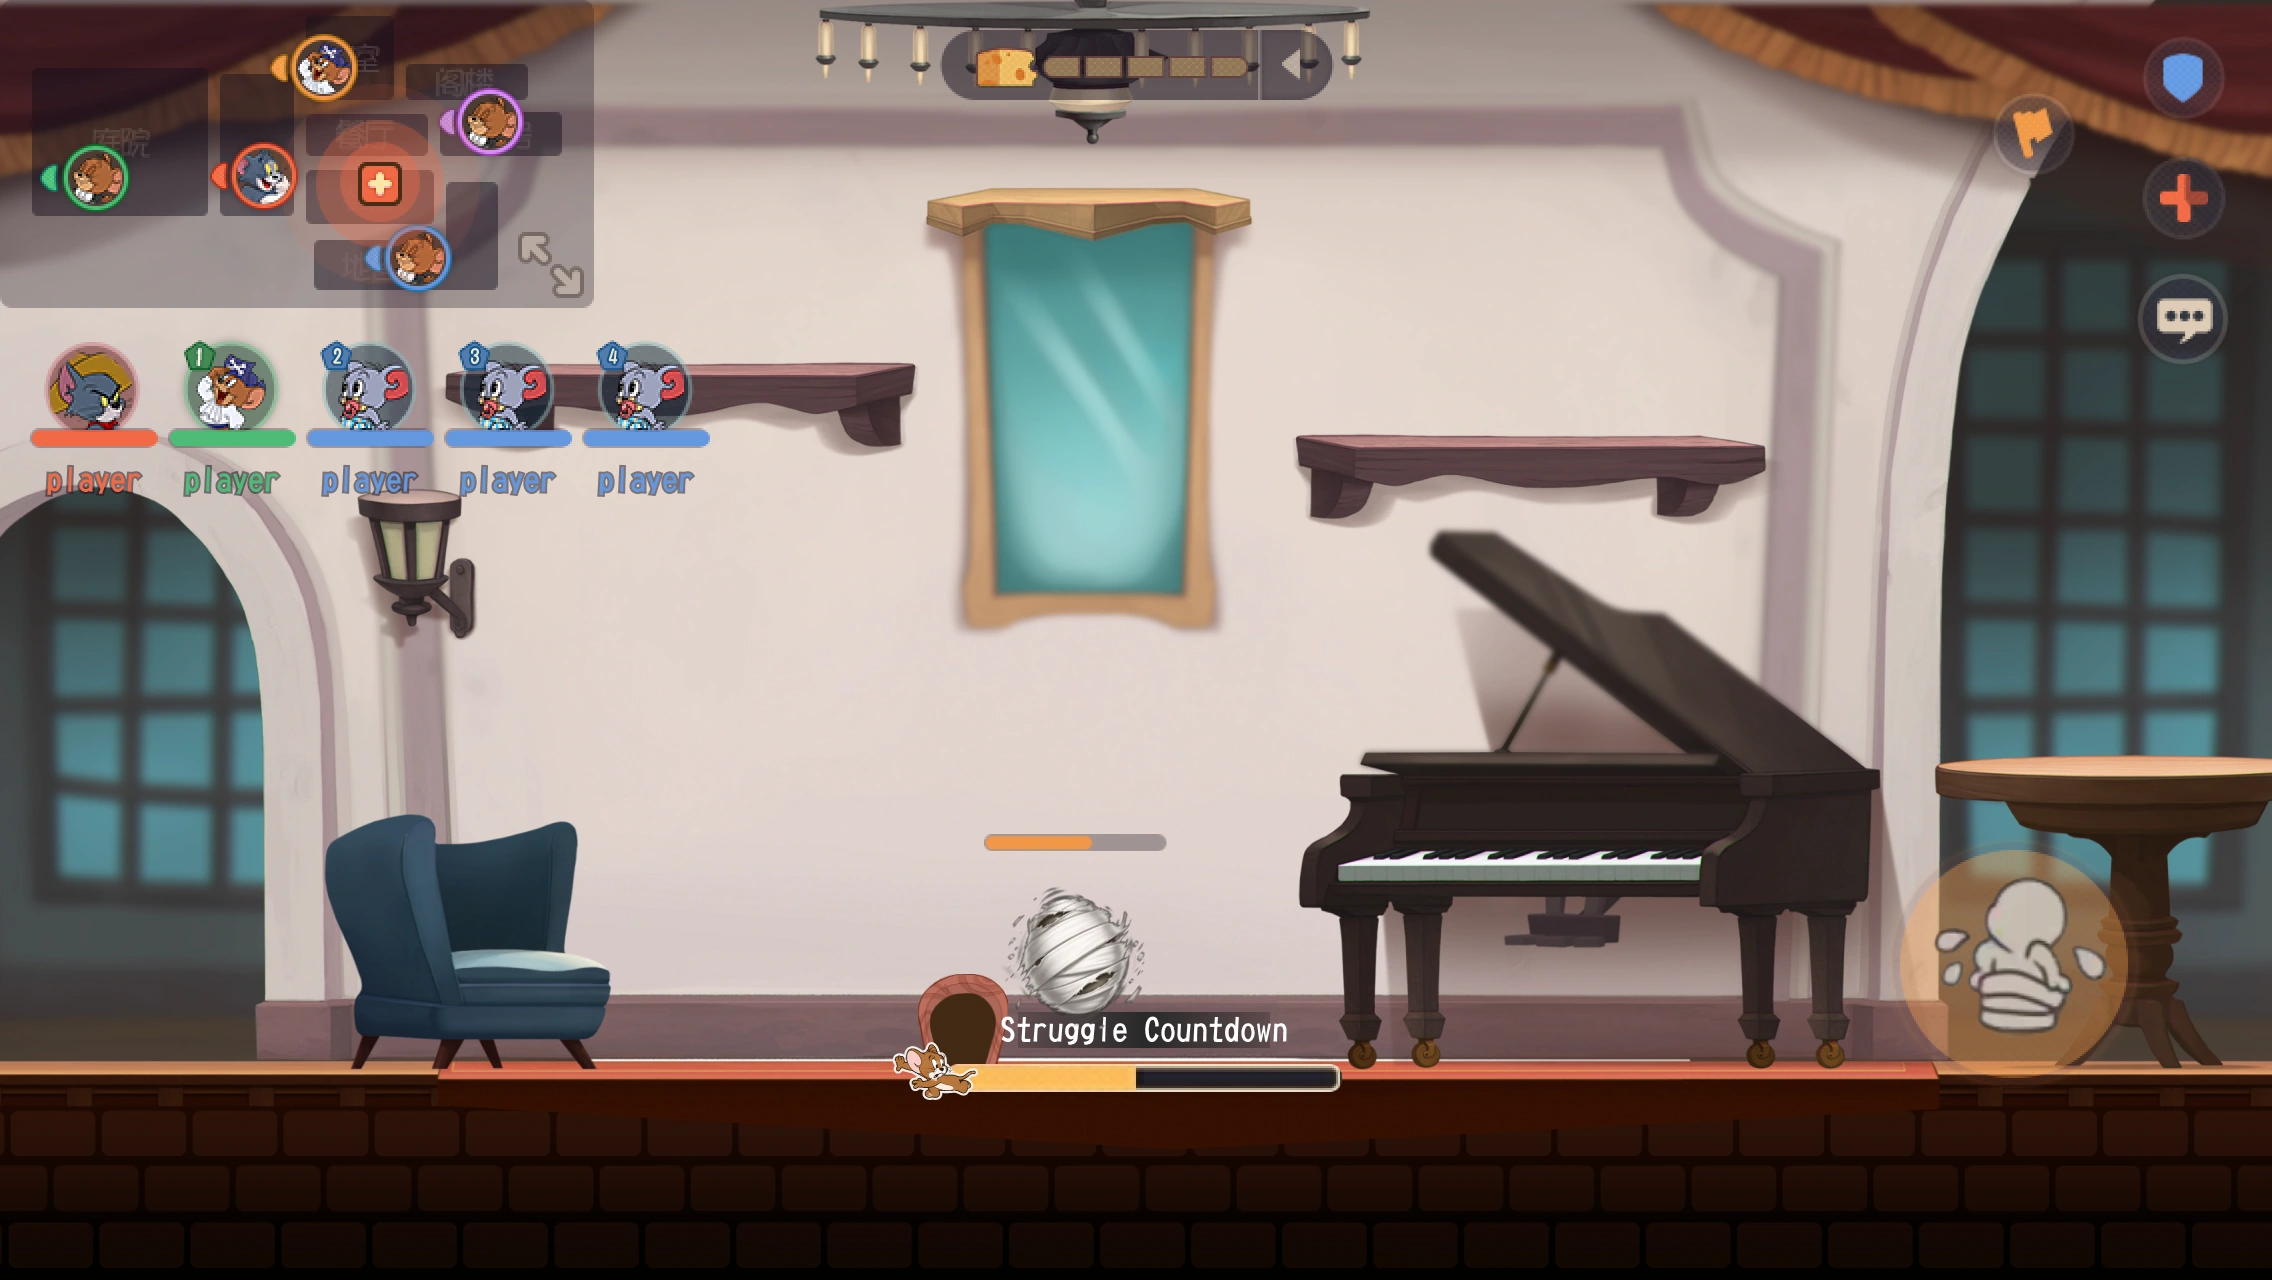
[Cocoon Ally] Stage 1: Break Free










Success

Success
Success
Fail


Red marks show states and screens AI missed.



Looks like we still need you.
Step 3: Detail Visual Generation
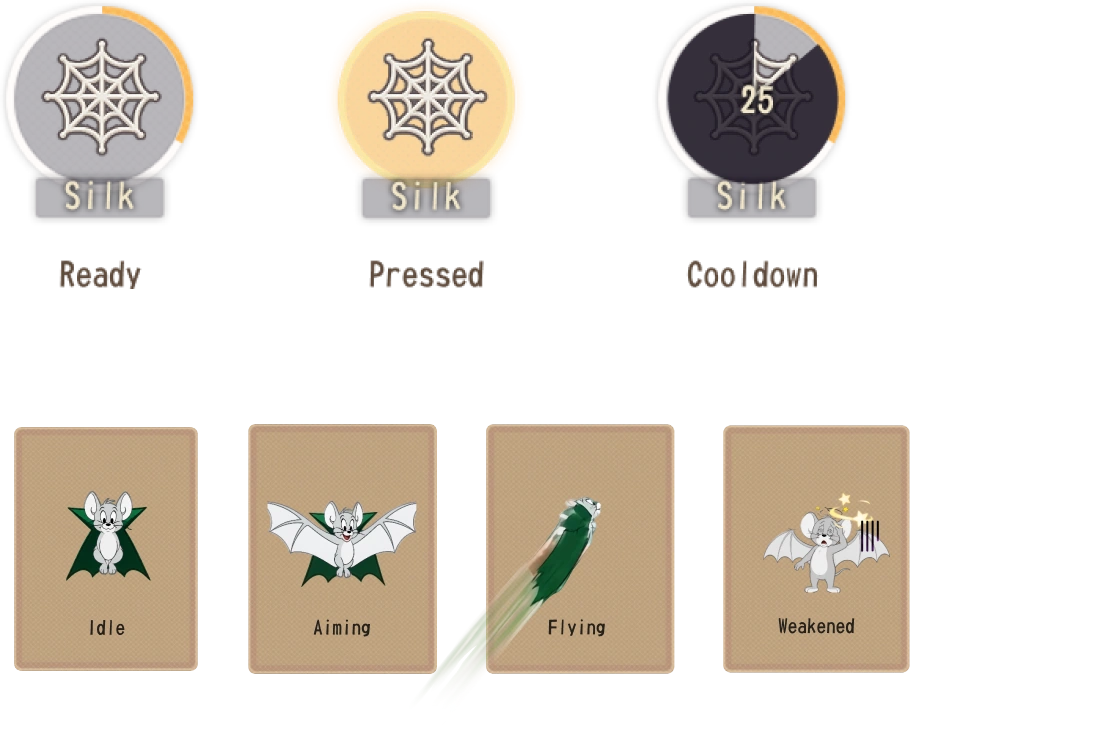
Once flows are defined, generate character, object, and button states in one pass.
AI Generated:
Designer Added:
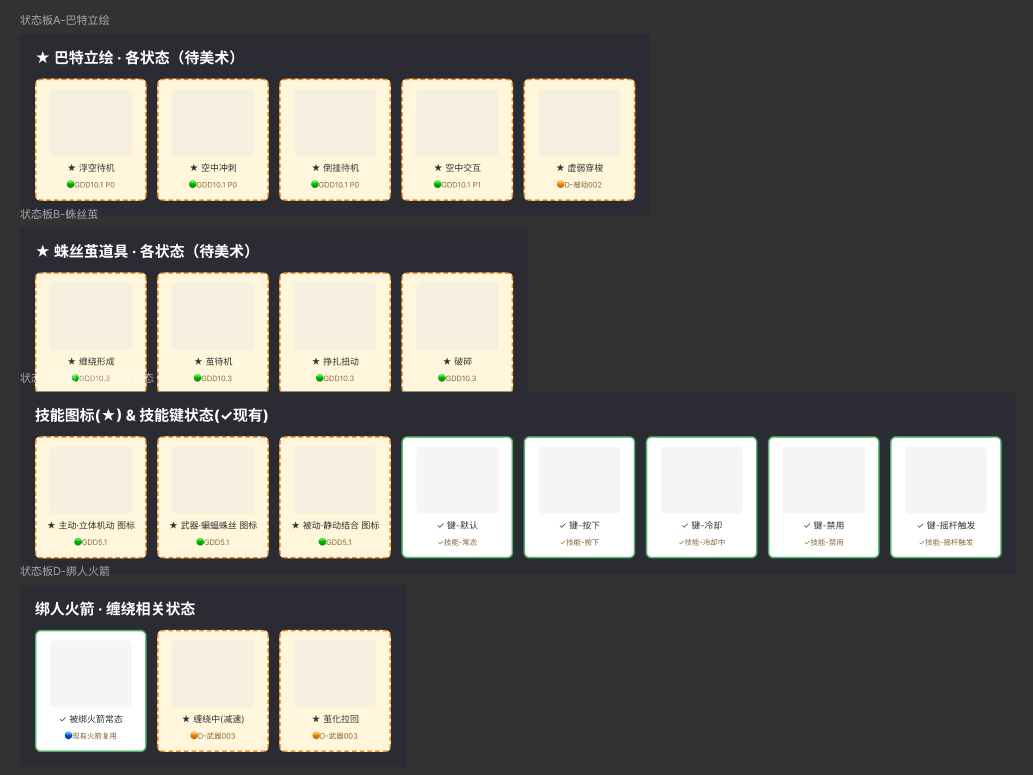
Button States:
Character States:


Do not automate image generation like low-fi. Long context plus visuals is costly and error-prone.
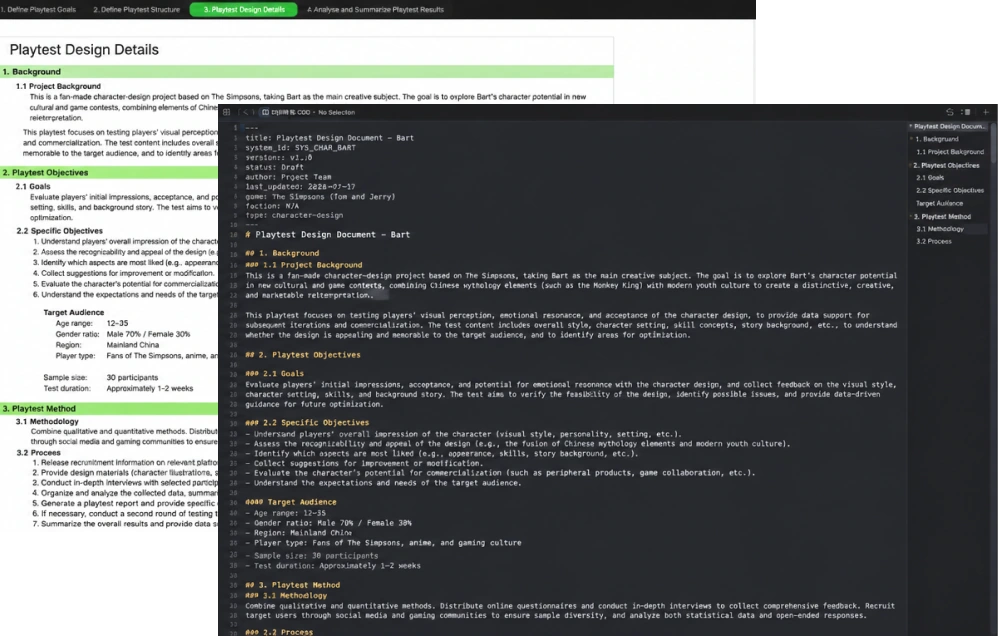
Step 4: Generate Interaction Docs
AI Generated:
Designer Added:
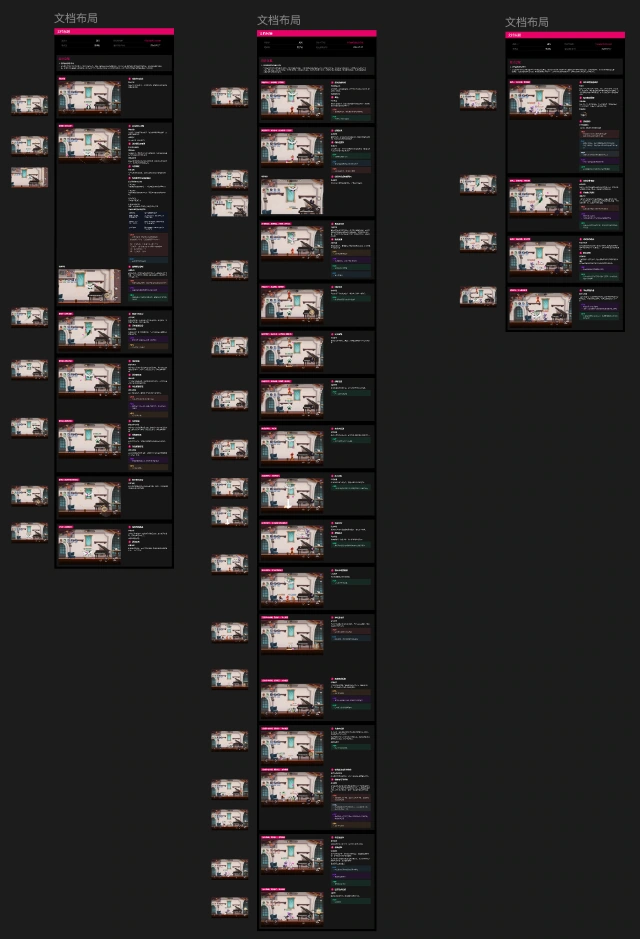
UI + Object States:


Review all copy carefully—AI can create duplicate or unclear text.
Designer

Step 5: AI + Designer Review
AI reviews against requirements and guidelines; the designer checks thoroughly before handoff.
AI:
Builds the main flow fast. May miss edge cases.
Designer:
Completes states and exceptions.
Designer
Designer
Make Design Knowledge AI-Readable and Reusable
3
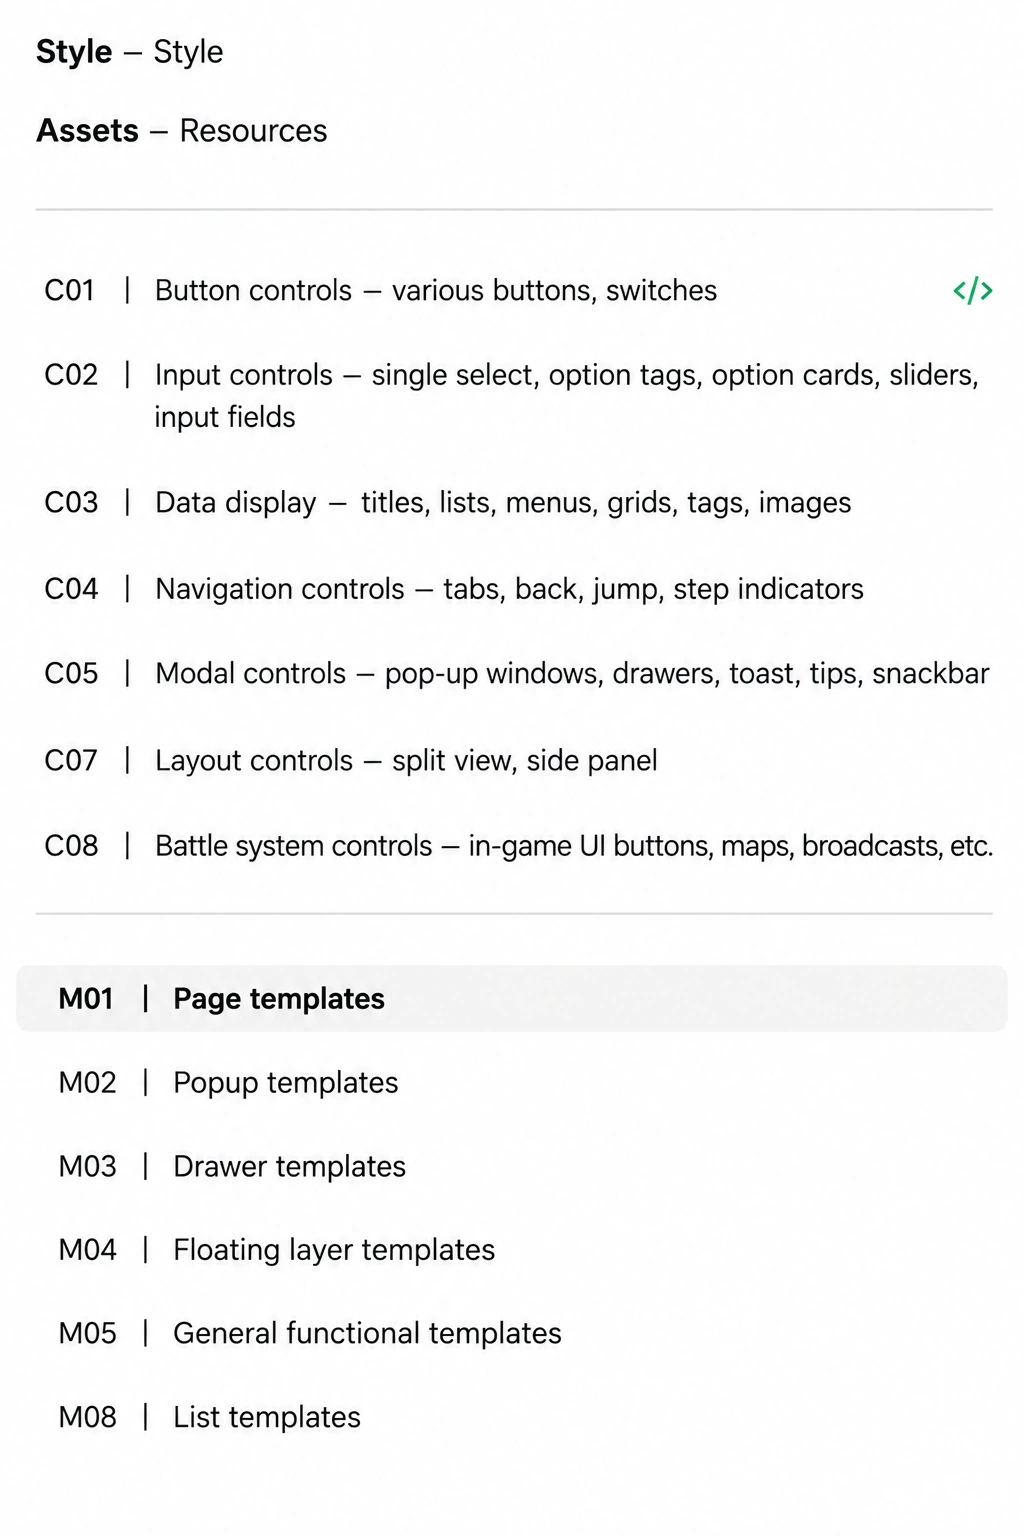
3.1 Make Components AI-Readable
Upgrade visual assets into searchable, composable, constrained design knowledge.
01 | Templates
Build page and overlay templates from components, so AI reuses proven structures.
02 | Semantic Naming
Business-aligned names let AI pull components straight from brief keywords.
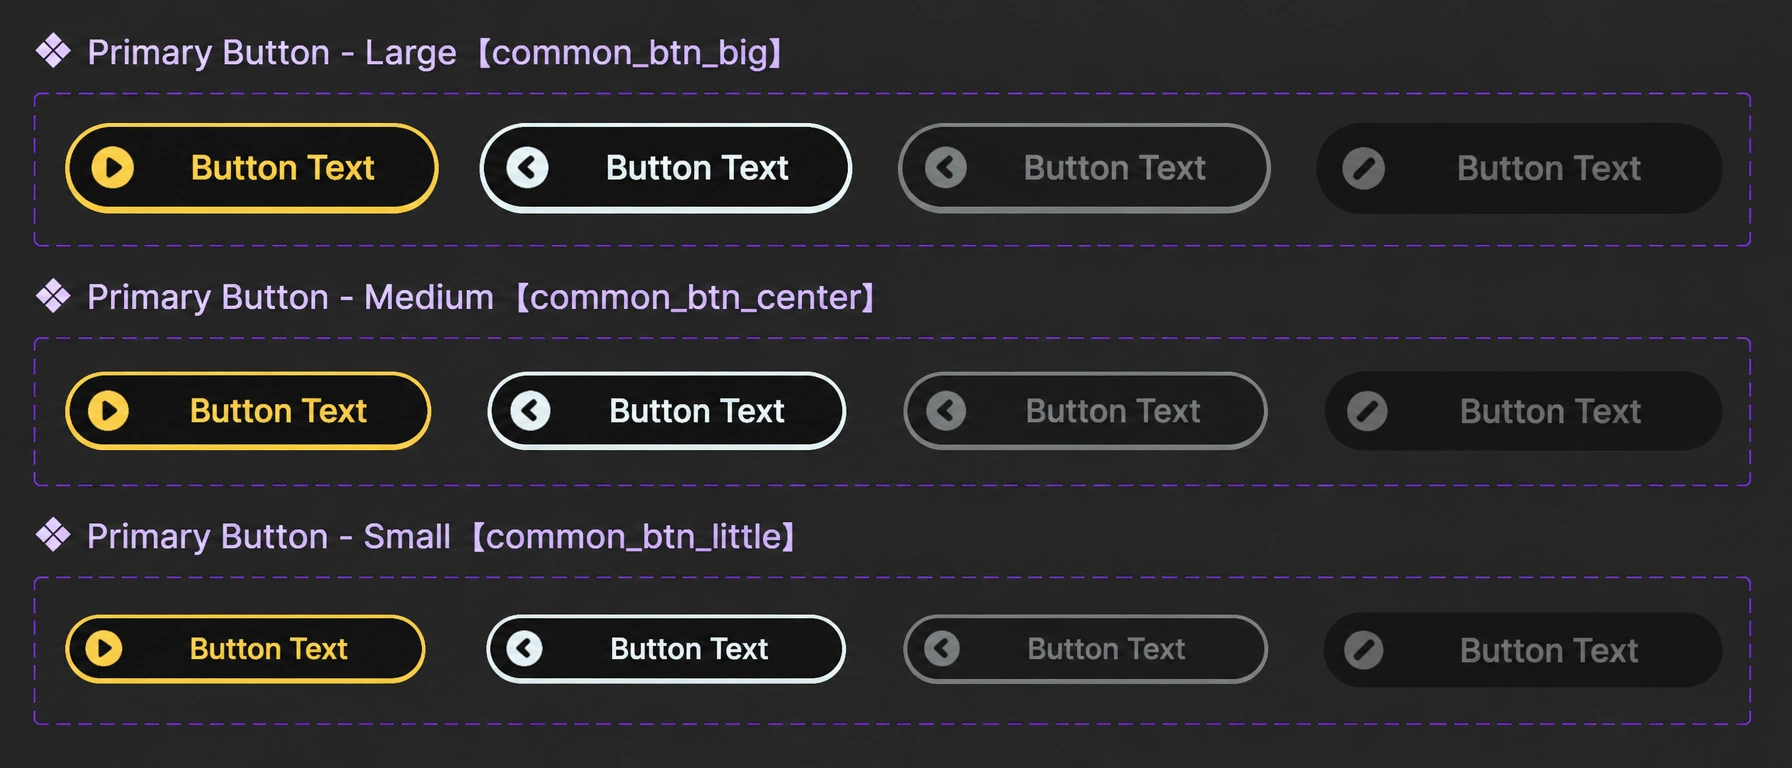
03 | States as Variants
Size, state, and mode live in properties, so AI retrieves the exact component and state.
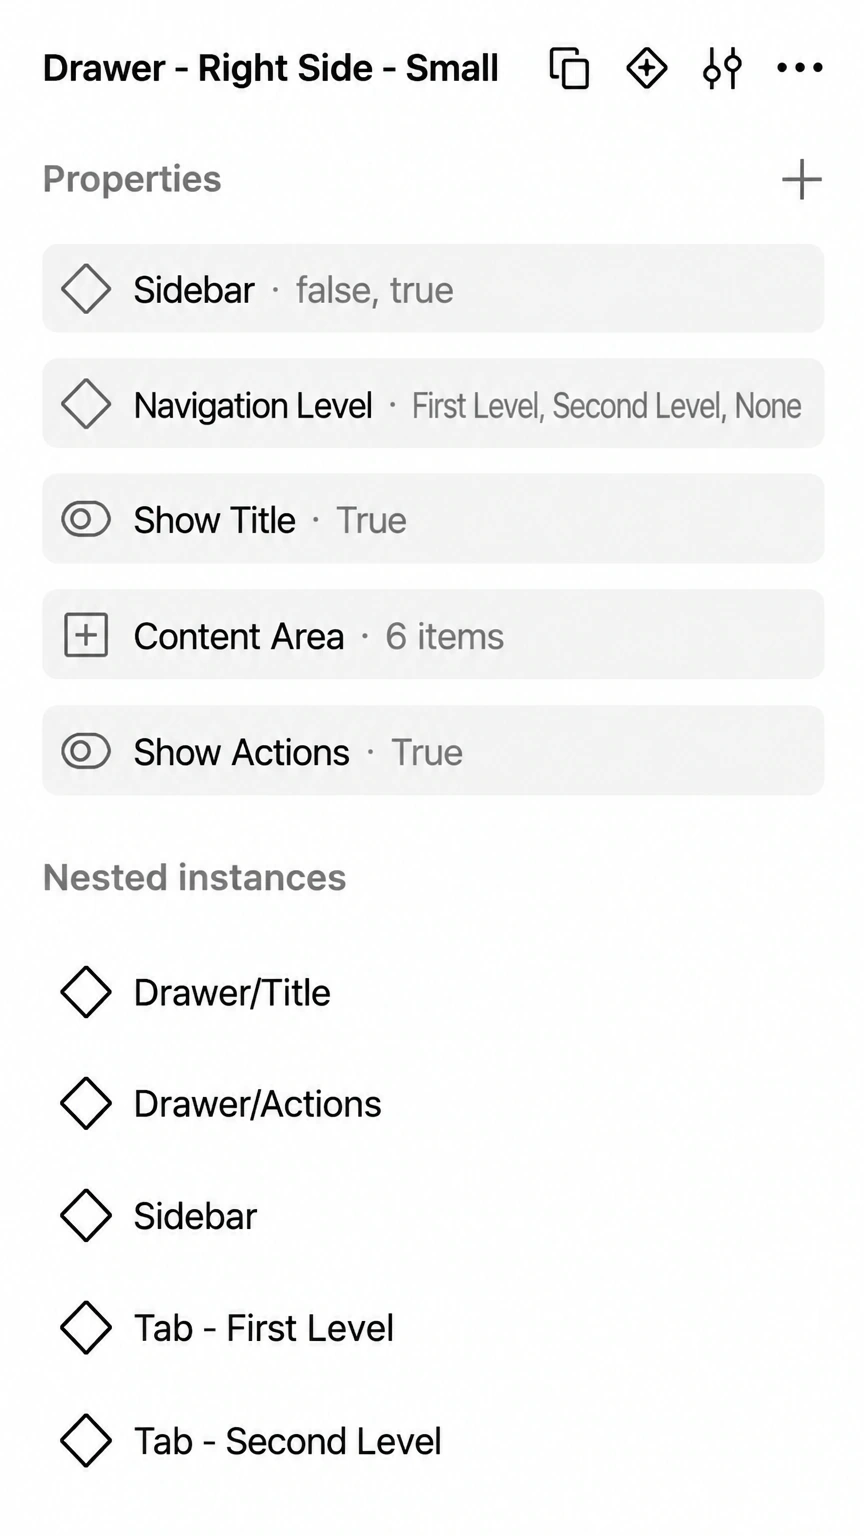
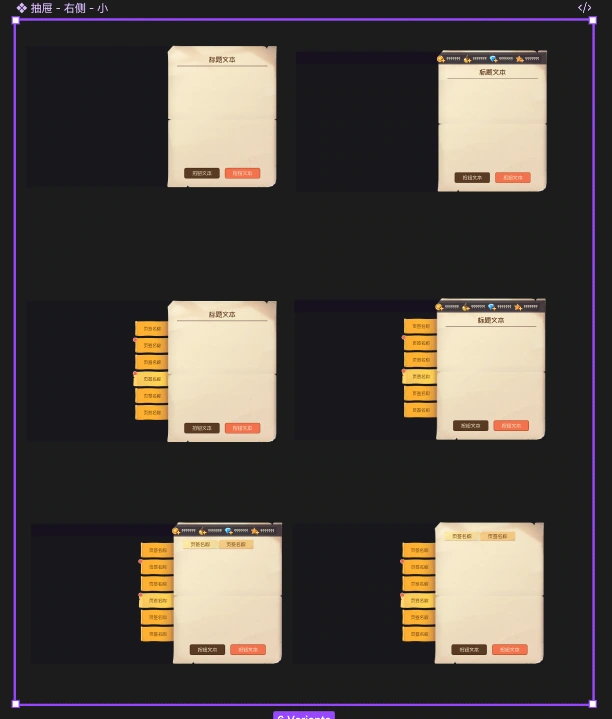
04 | Usage Rules
Guidelines tell AI when a component can—and cannot—be used.
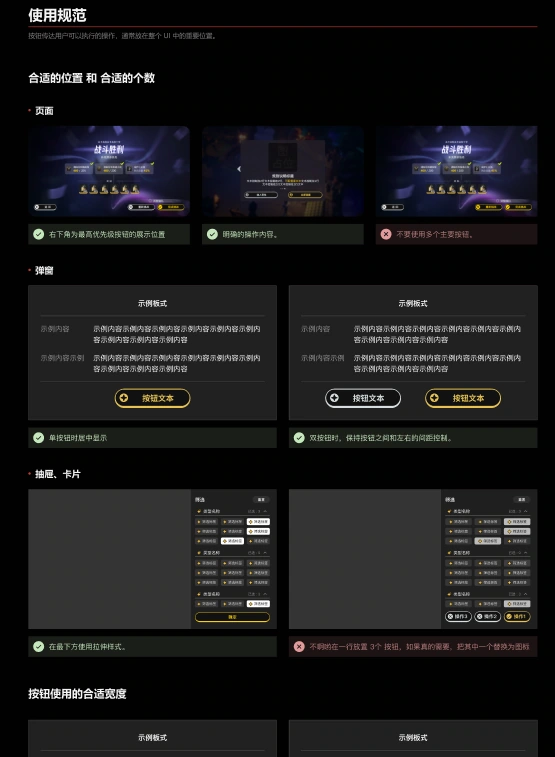
05 | One Library
Publish one library and sync names, versions, and states—no stale duplicates.
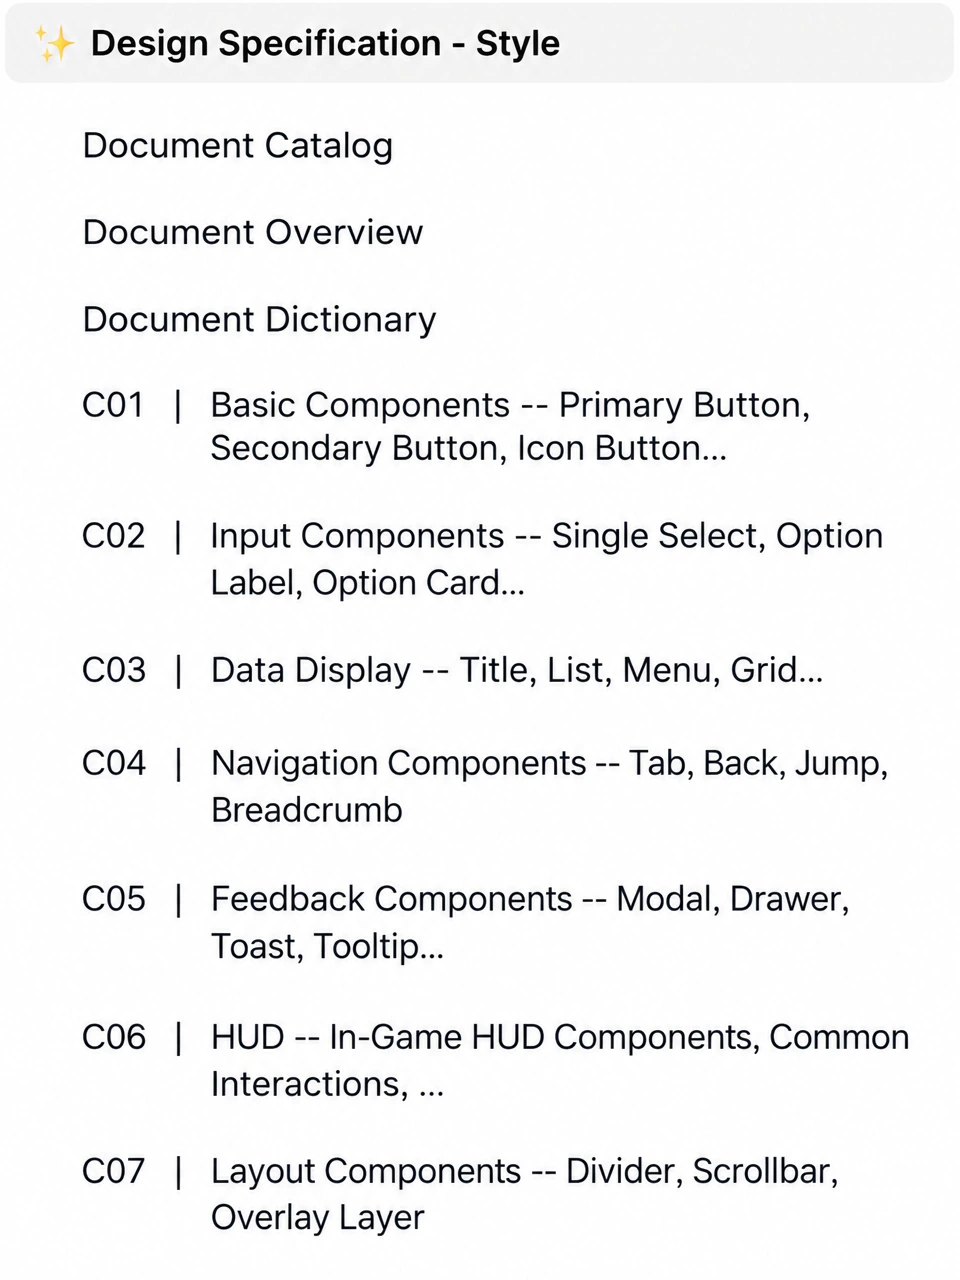
Keep components reliably accessible, reusable, and updatable for teams and AI.

3.2 From Historical Screens to UX Pattern Reuse
How can AI retrieve, understand, and reuse historical-screen experience?
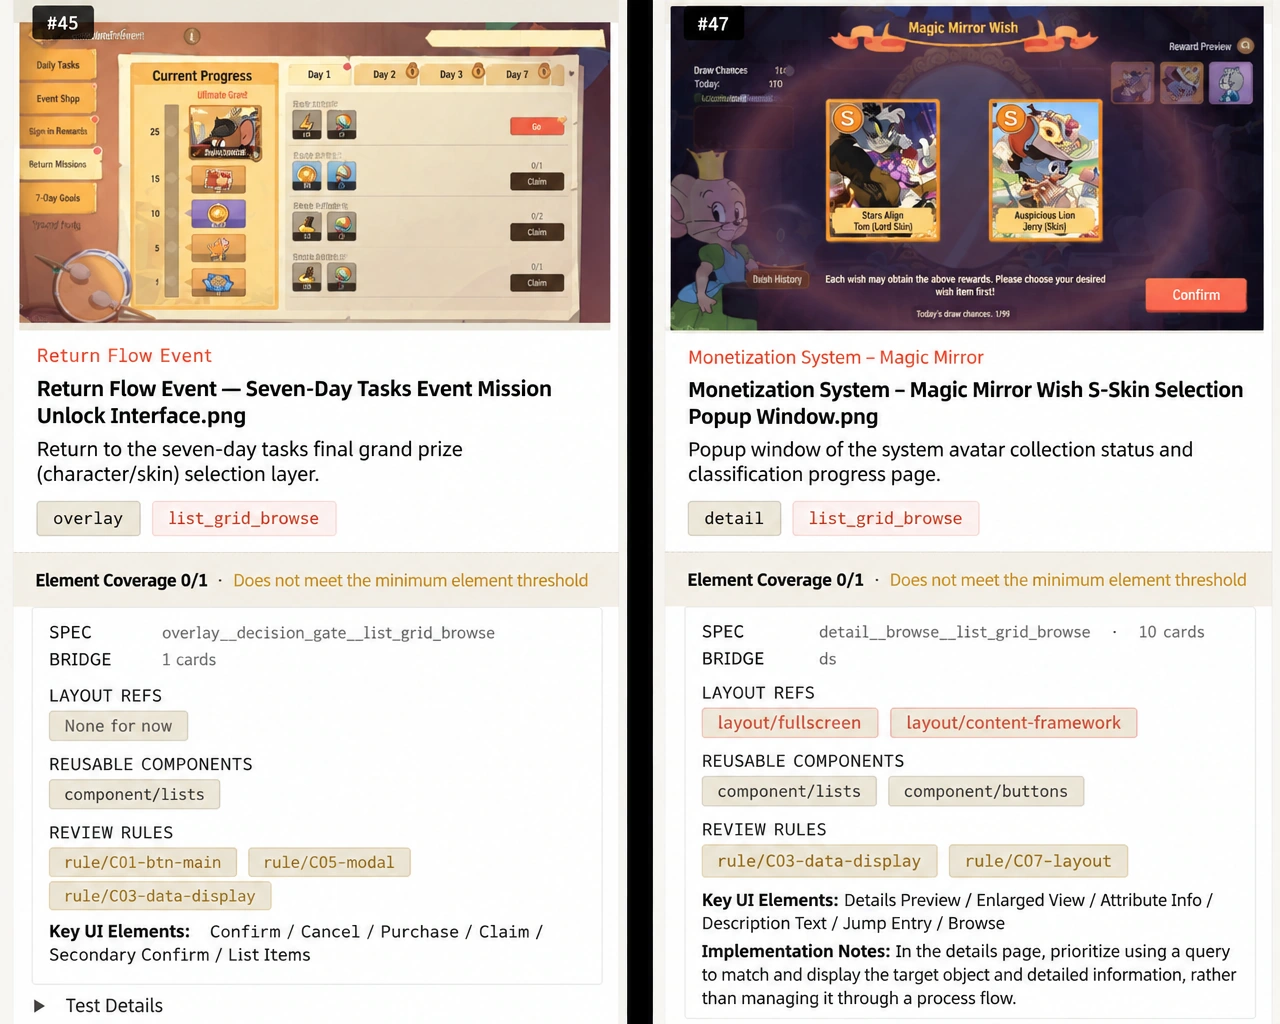
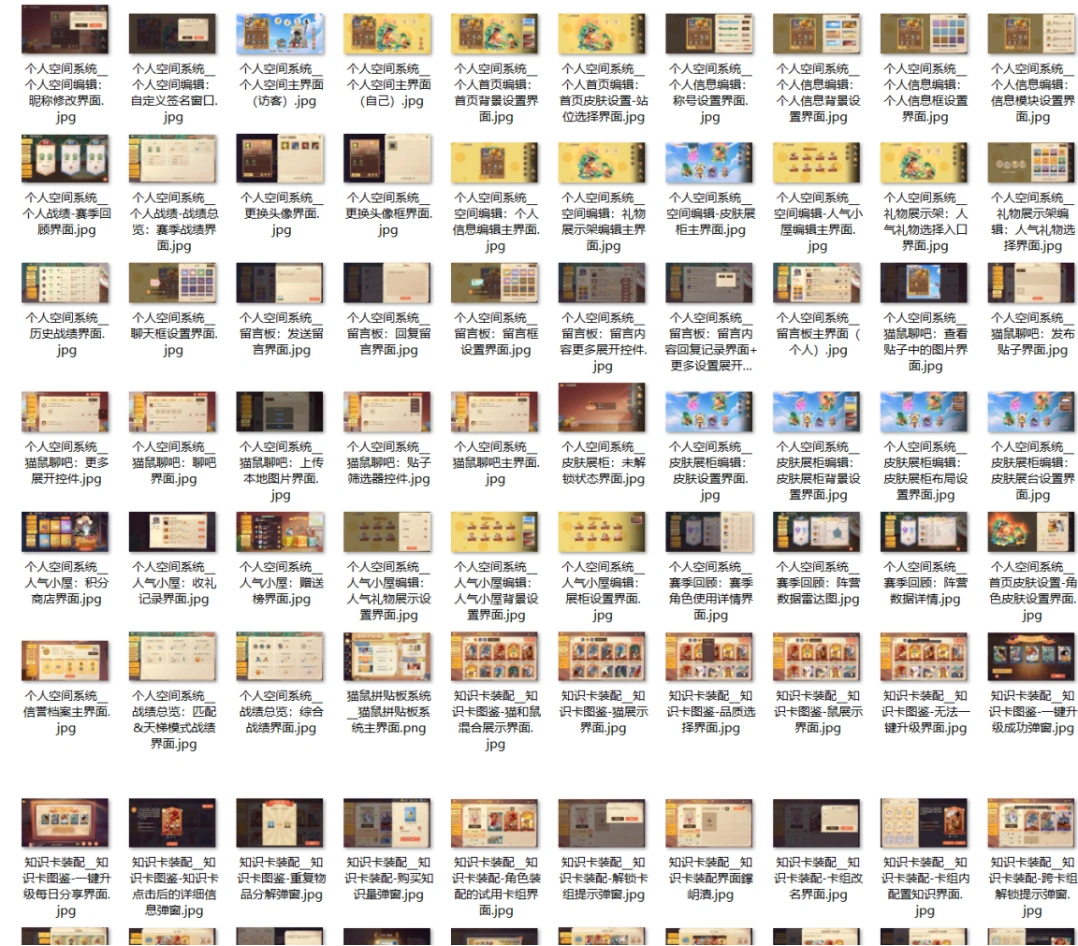
600+ Live Screens → Pattern Tags
Systematic Tags
Categorize
Extract Fields
Deduplicate & Valid
...
Screen Structure
Core Info
Search Ranking
Comp Structure
Guide Details
Special Notes

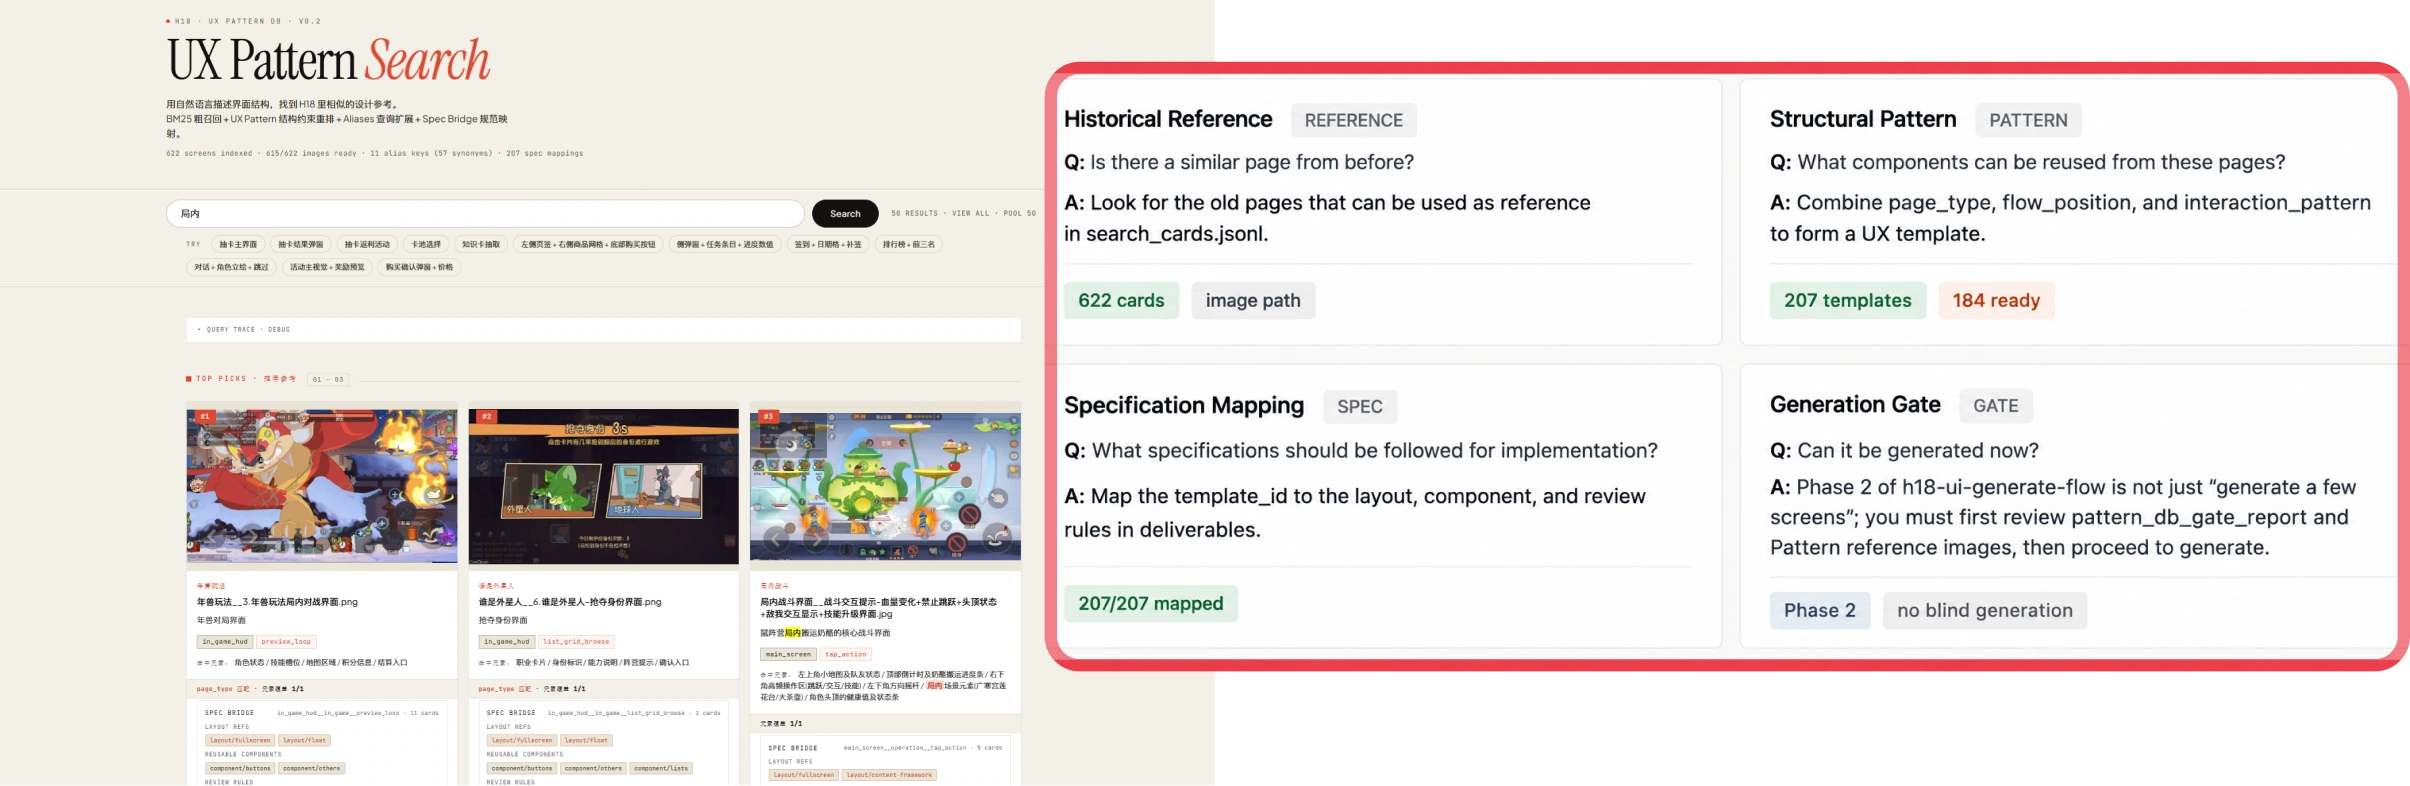
BM25 Matching + Search Visualization
Validate Results
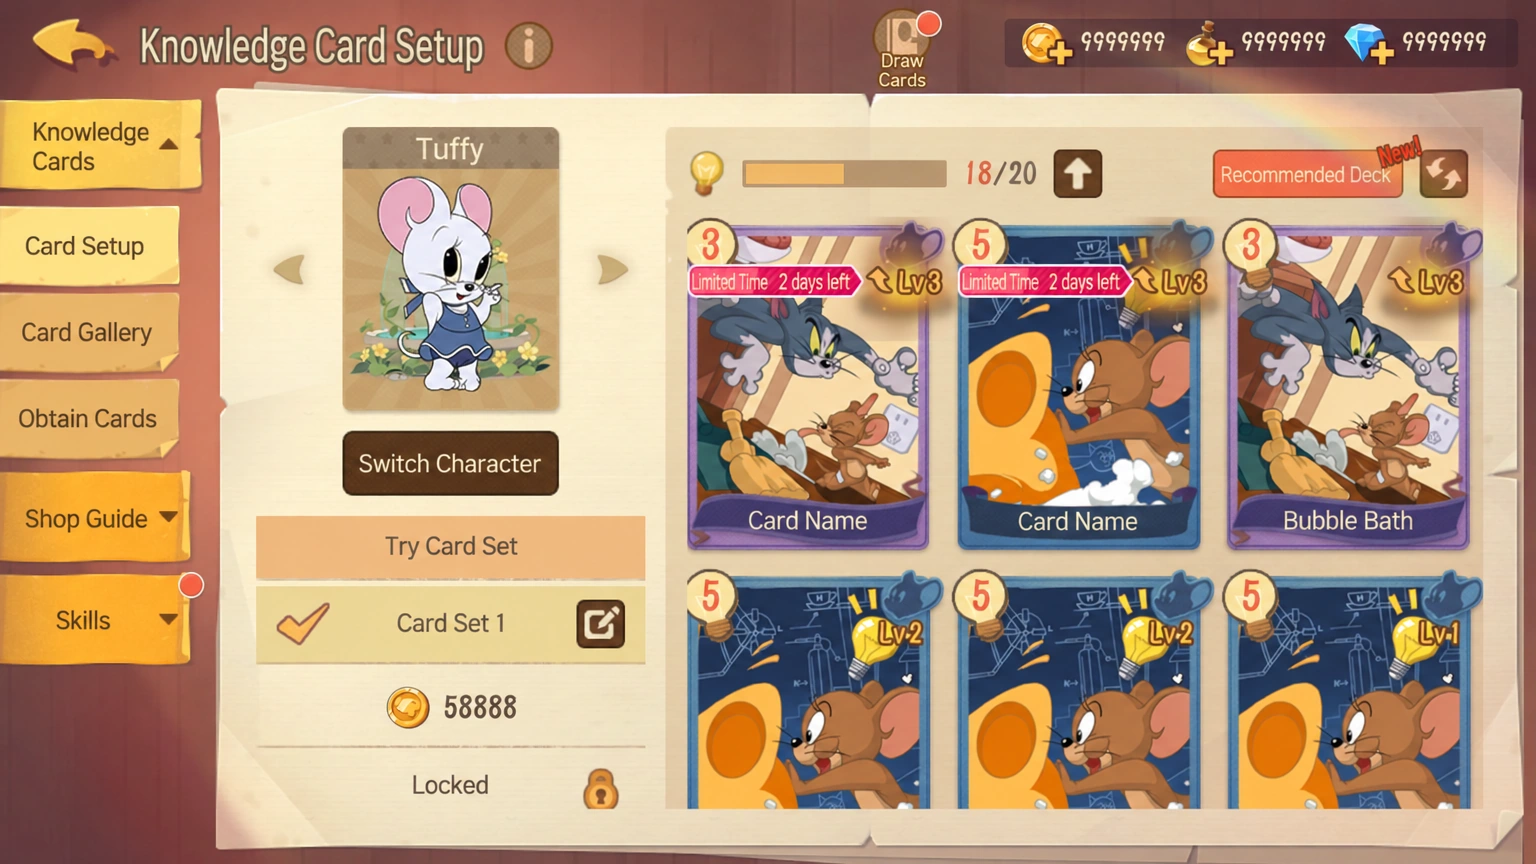

Unconstrained Output
With Pattern References
Ideal Output
80% Similarity
80%
similarity to the ideal output when AI generates with Pattern references.
3.3 Standardize AI Output
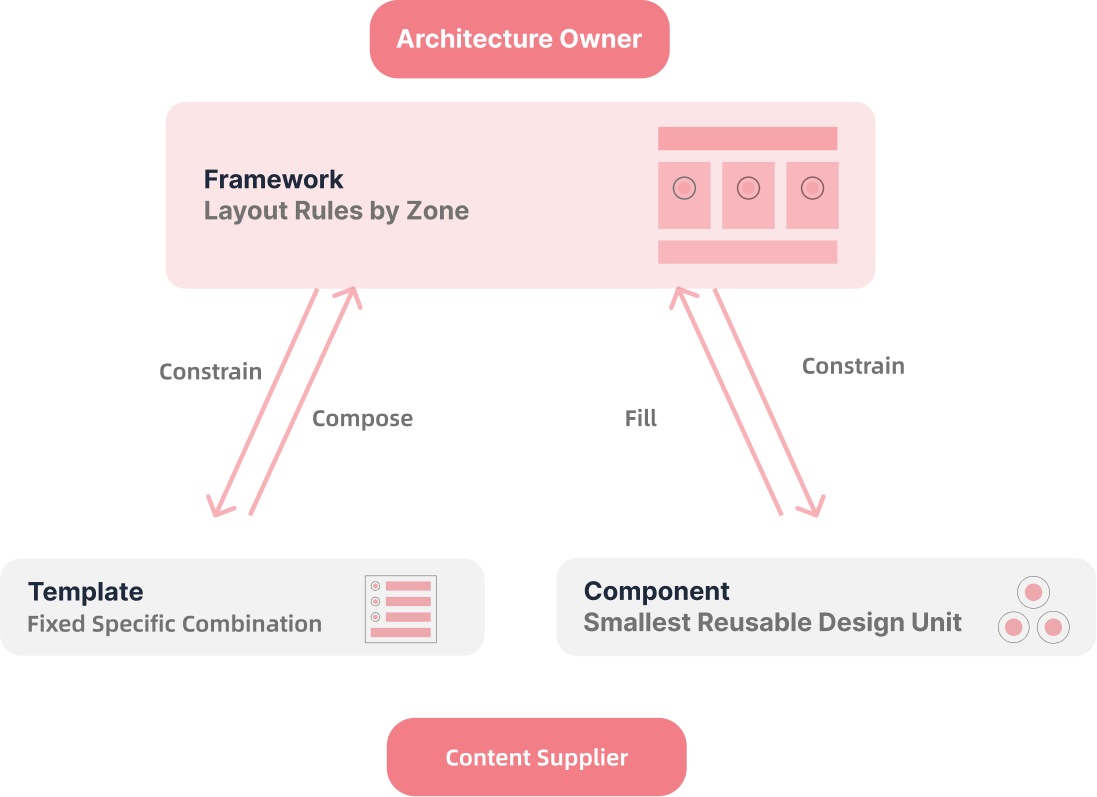
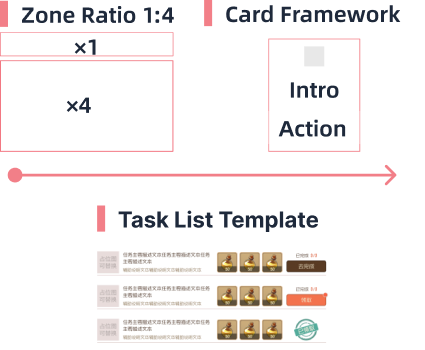
Set the framework, zones, and reuse rules first, then let AI fill in the content.
Framework + Guideline Guardrails
AI Design Gate
History: “Is there a similar case?”
Guidelines: “Which containers, components, and rules apply?”
Generation Gate: “Is there enough evidence to build?”


A transparent generation flow saves iteration time and tokens while improving quality.
Designer

Example


No constraints? I will improvise.
AI
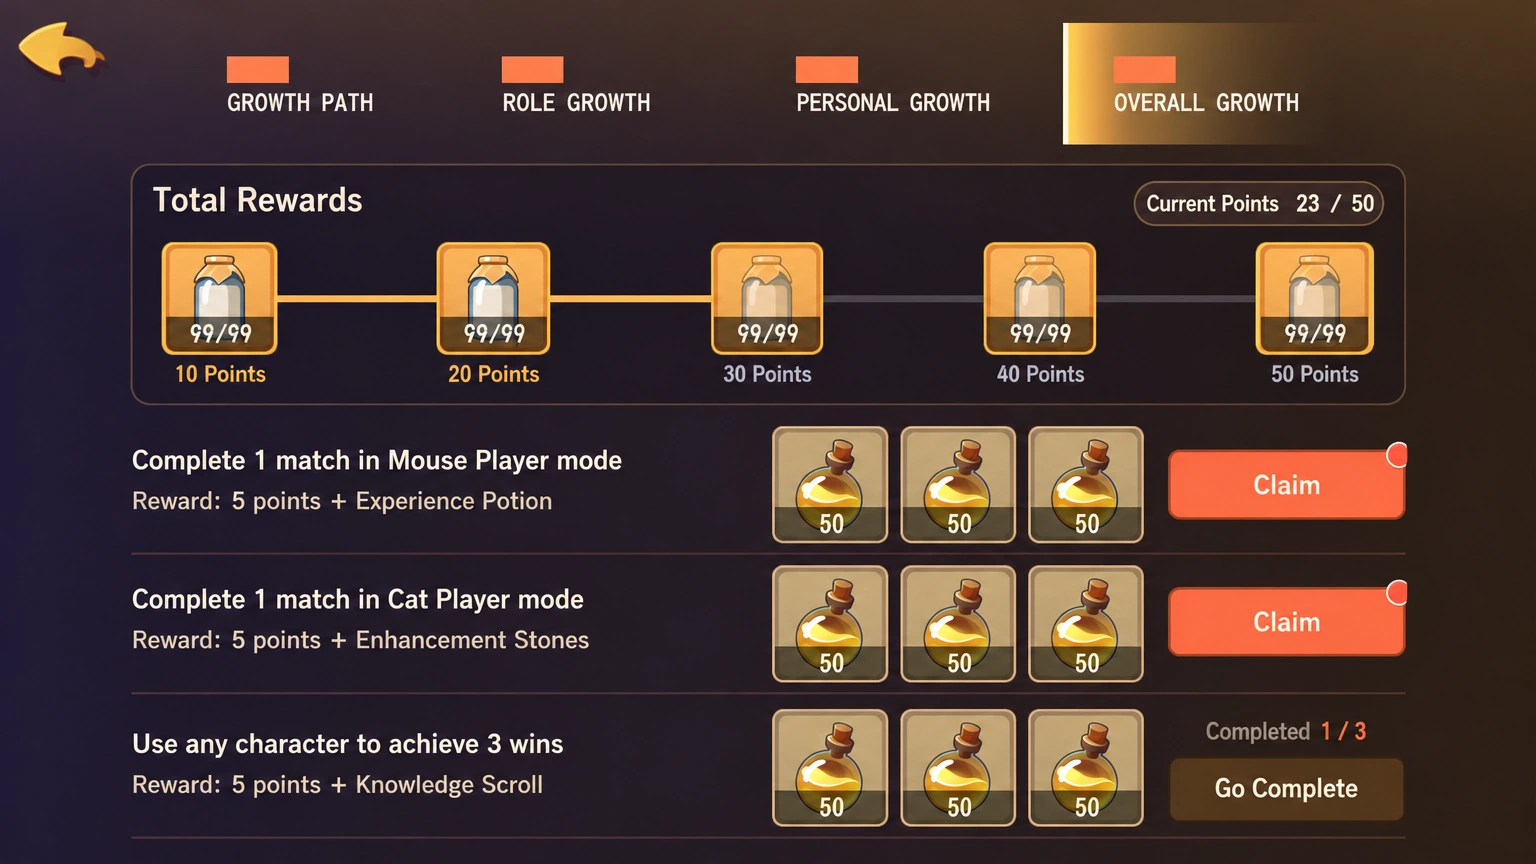
Use a matching template first for maximum consistency.
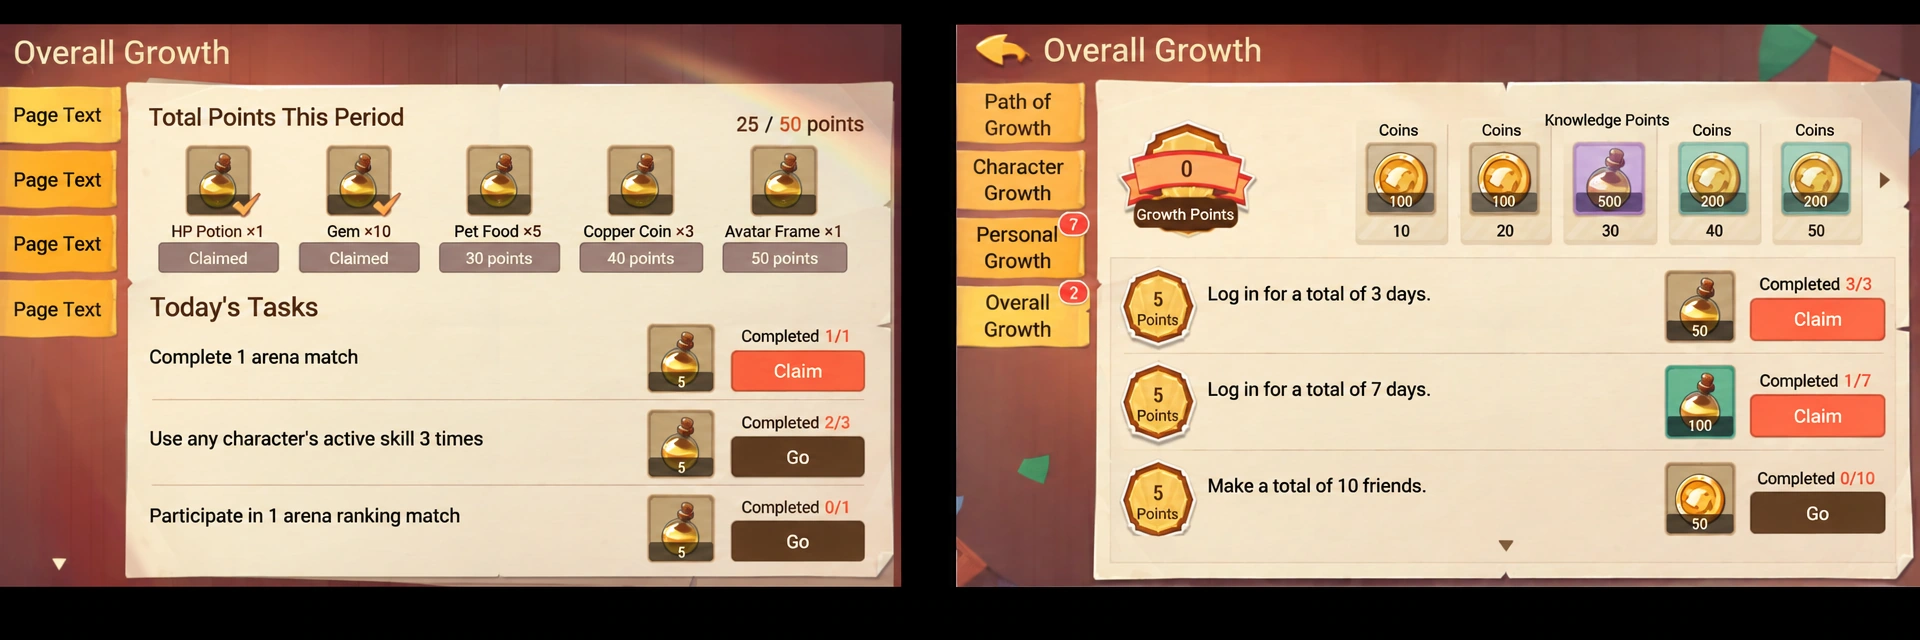

Unconstrained AI Draft
Constrained AI Draft
Project Draft
3.4 Optimize the Skill System
From many overlapping Skills to clear roles that can be called precisely and tested.
Trade-Offs for Individual Skills
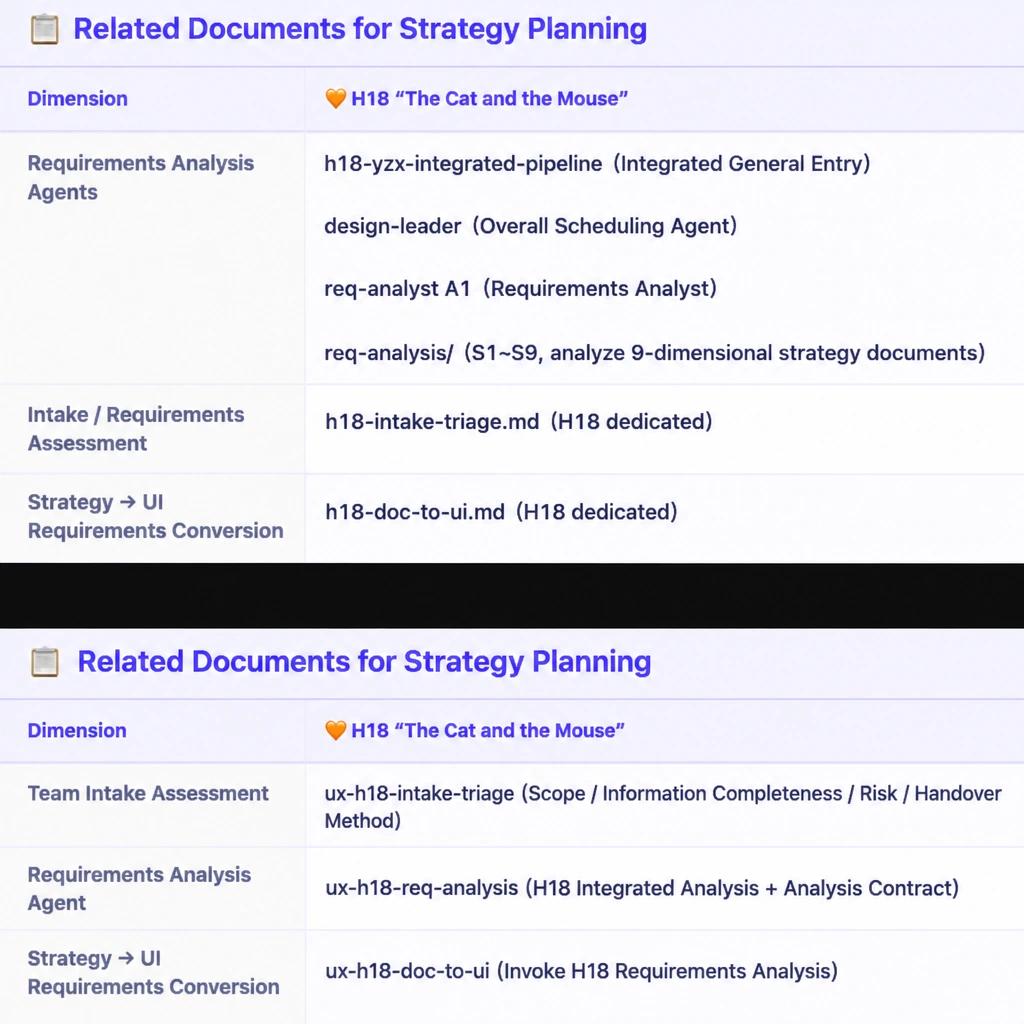
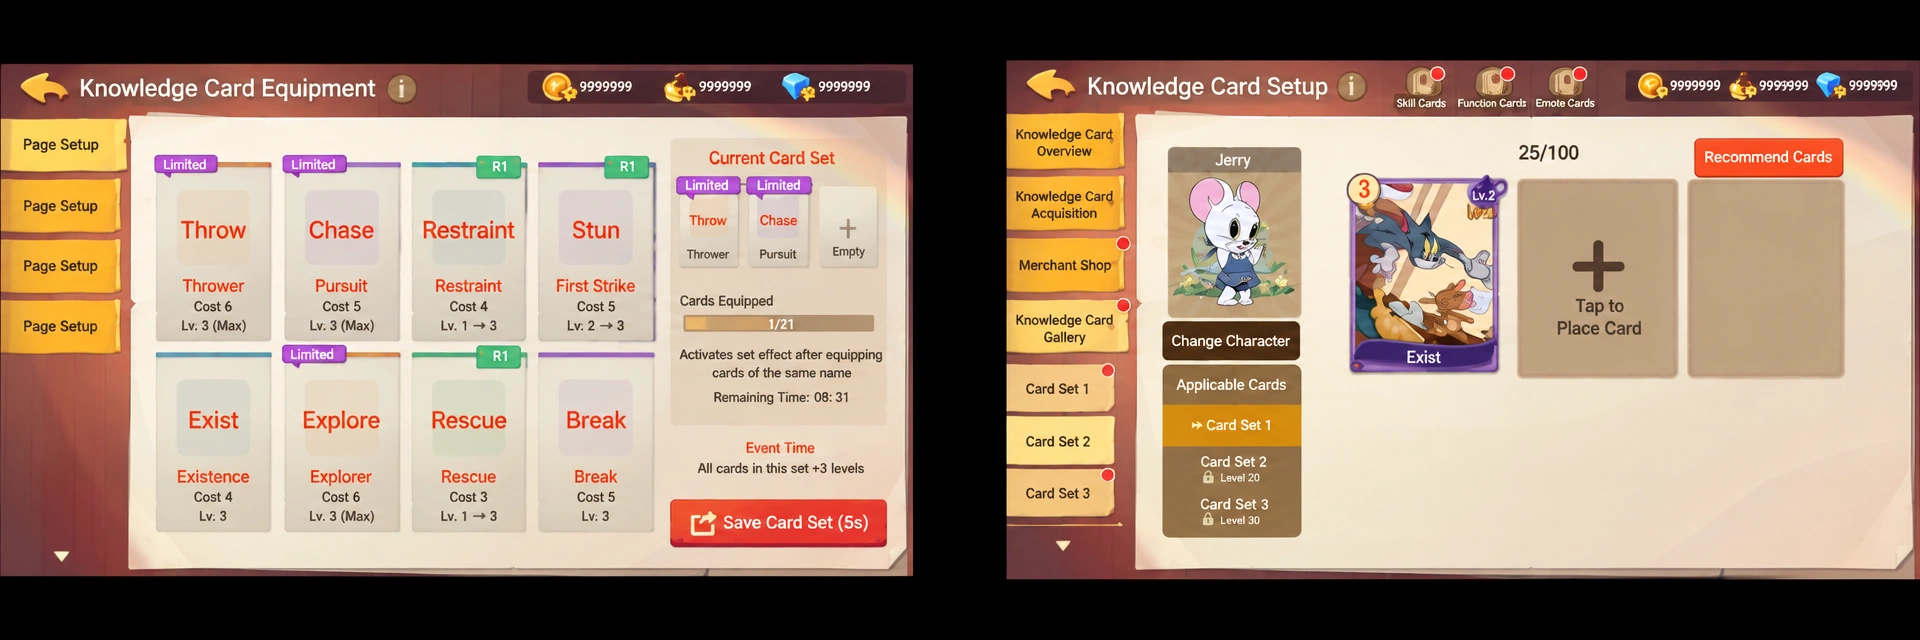
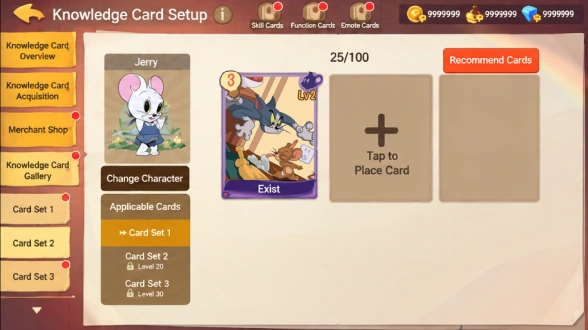
Example: Tom & Jerry Brief-Analysis Skill
Version 1
Version 2

Too Repetitive
Merge + Simplify

Four Areas of Internal Skill Optimization
1. Trigger + Boundaries
Define when to call a Skill, when not to, and what it owns.
2. Process + Intermediate Outputs
Standardize each stage's input, process, and output so failures can be traced.
3. Output + Acceptance
Every step delivers an output plus clear acceptance criteria.
4. Testing + Iteration
Test on real, similar cases—designers test too, not only AI.
More precise calls, less context, more stable results, faster testing, and higher output efficiency.
From Practice to a Sustainable AI Design System
4
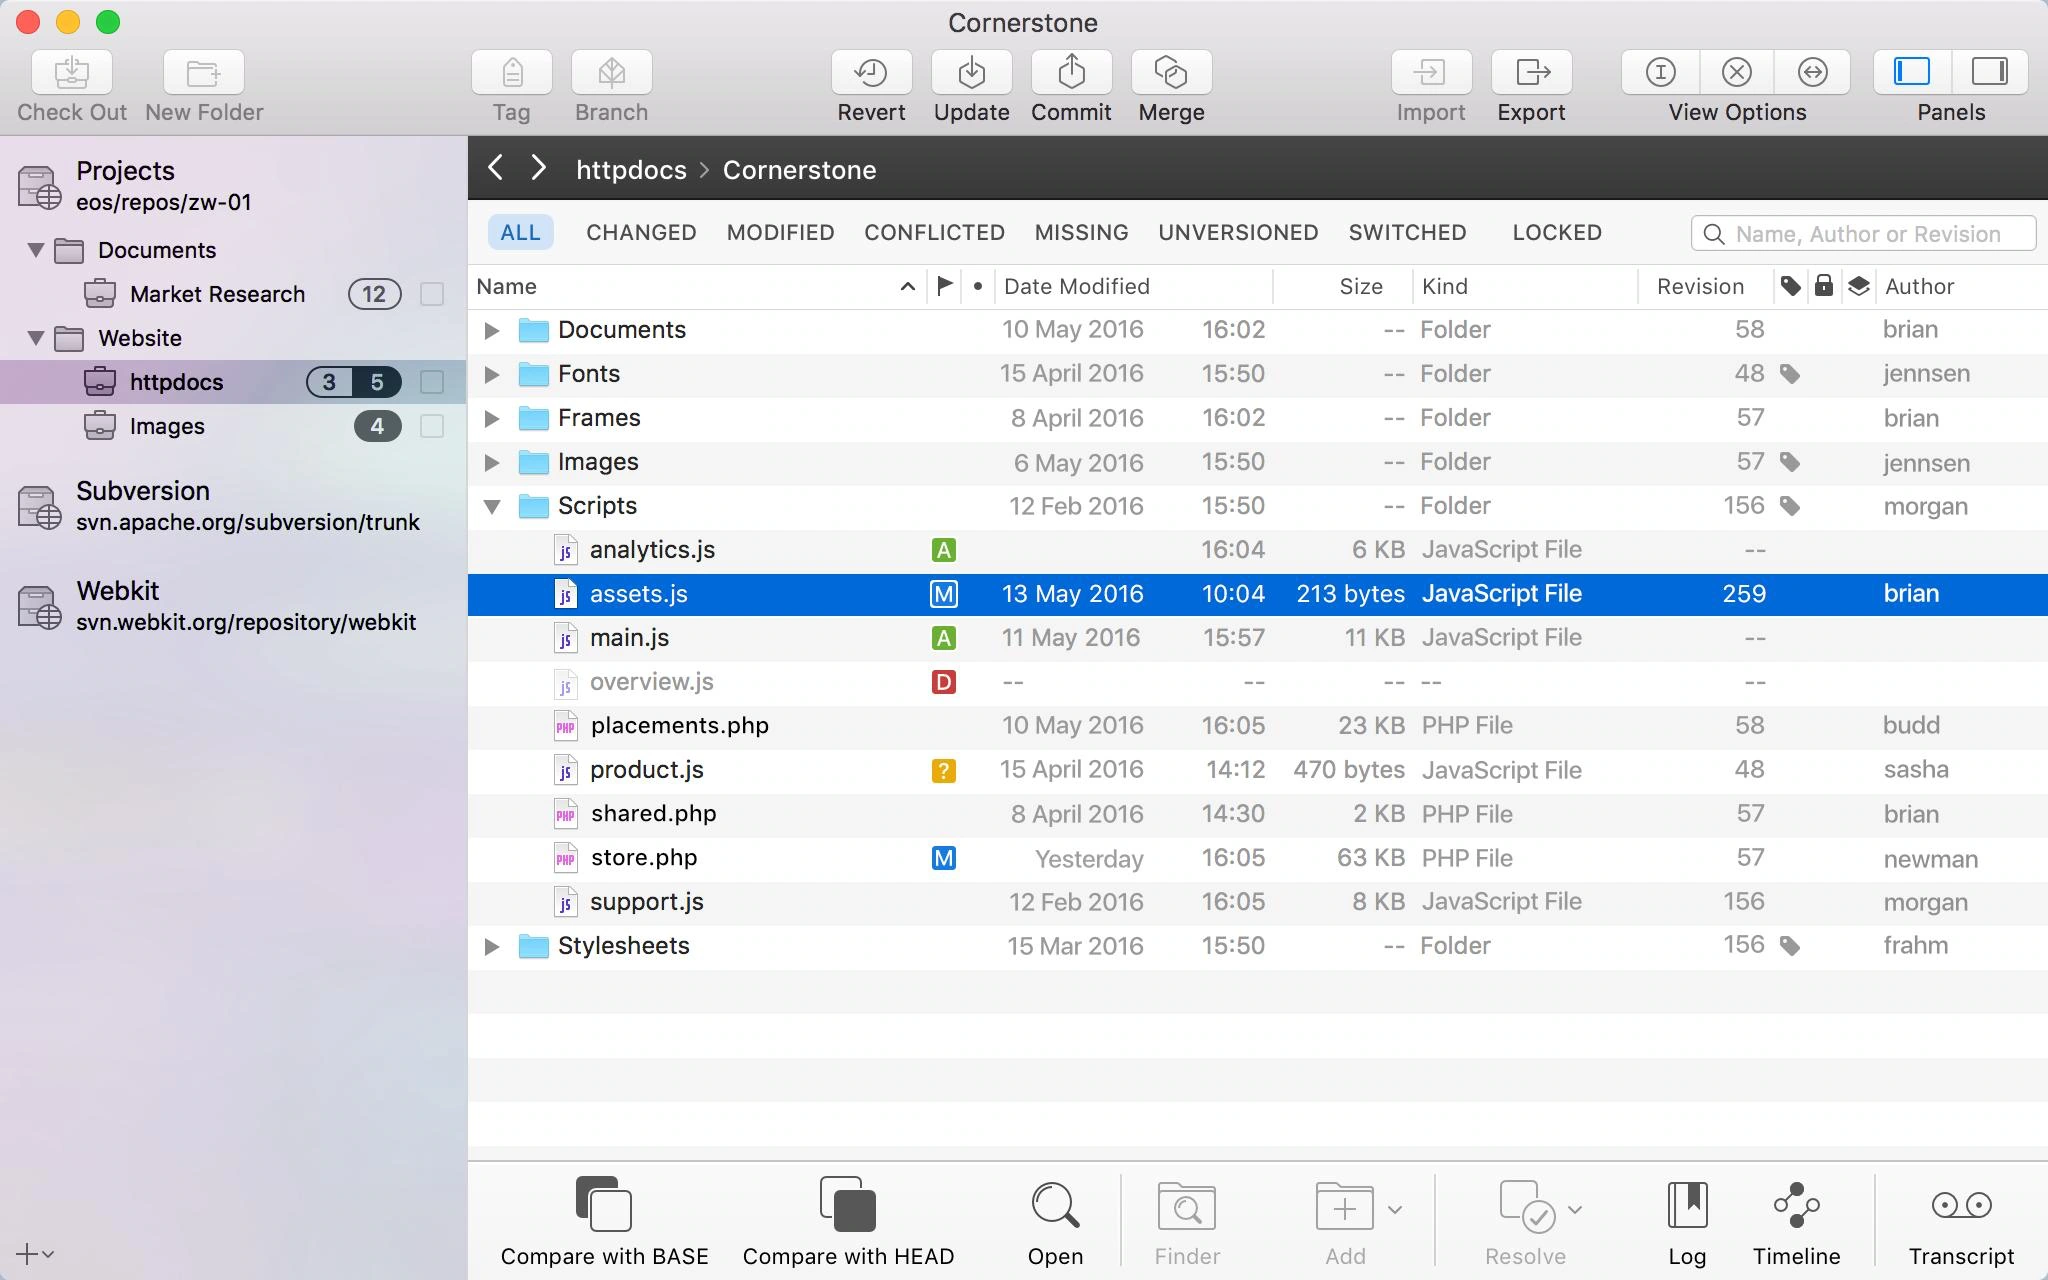
4.1 From SVN to an AI Collaboration Space
The bottleneck is not more Skills—it is scattered assets, knowledge, workflows, and project context.


The state is wrong—the brief changed yesterday.


Looks like the lead updated the HUD Skill again.

Your AI clearly did not follow the guidelines.
Existing SVN Repository
AI Asset Management
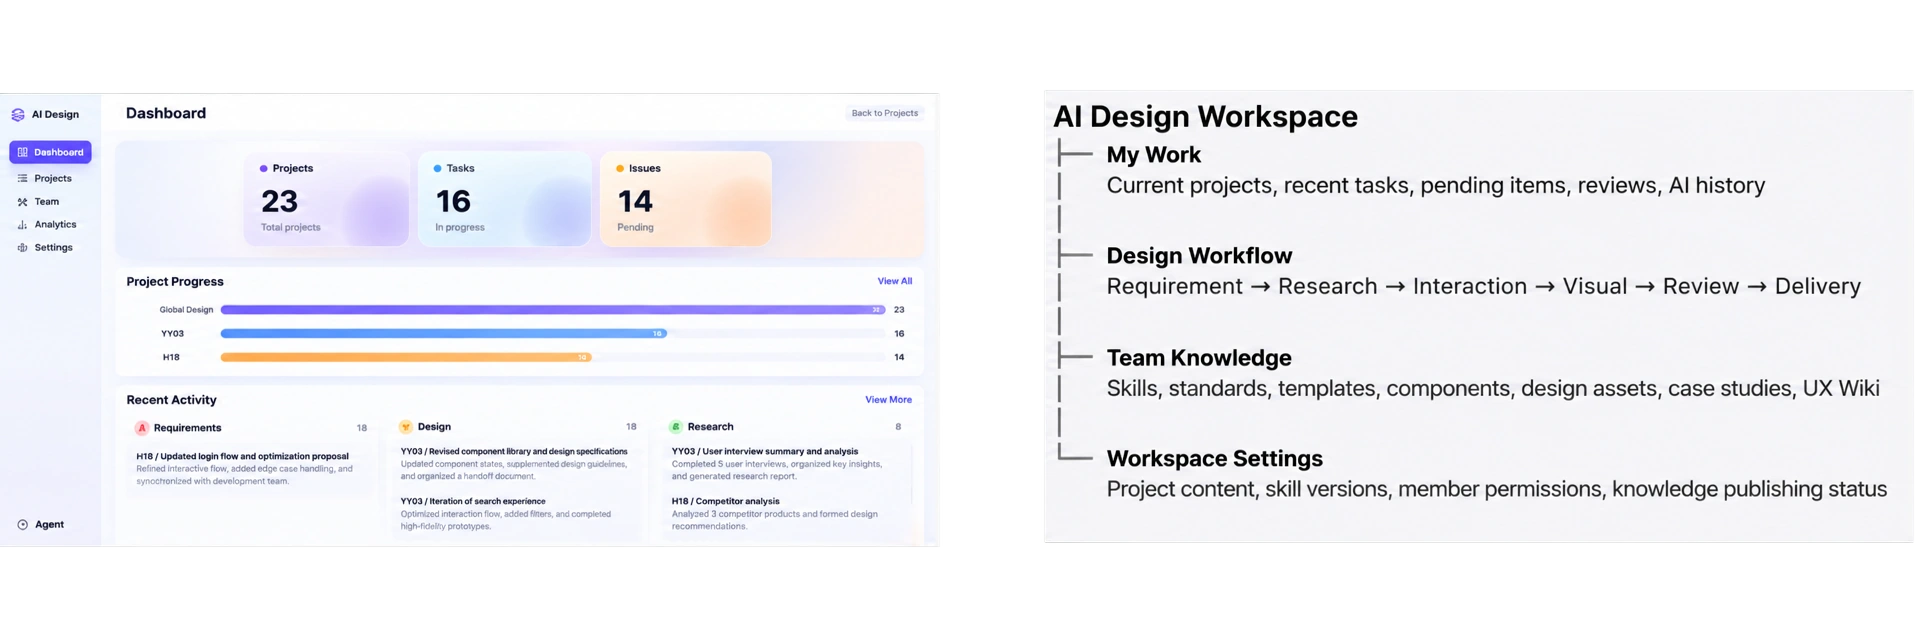
AI Design Collaboration Space
From scattered files to a workspace where each task arrives with the right knowledge, assets, and AI support.

4.2 UX Wiki: Close the Knowledge Loop
UX Wiki formalizes assets, context, decisions, and outcomes into traceable, searchable team knowledge that AI can reliably use.

PHASE 1 · Requirements & Low Fidelity
Pass

Kickoff

Design
Collaboration
Platform

PHASE 2 · High Fidelity & Handoff
Qualified
......
......

Continuous
Improvement
PHASE 3 · Launch & Iterate
Feedback



├── UX Wiki | Principles / Project Rules / Patterns / Anti-Patterns
├── Project Assets | Figma Components / Templates / Art / Screens
├── Project Knowledge | Characters / Gameplay / Terms / Cases
└── Skills | Brief Analysis / Pattern Search / UI Generation / Review
Load content for the current project
Update UX Wiki
├── New Patterns
├── Cases & Anti-Patterns
├── Component Rules
├── Project Rules
├── Decision Records
└── Skill Test Cases
New screens / assets / interaction rules / review issues / launch feedback
AI extracts candidate knowledge +
Designer validates, corrects, or rejects


......

AI
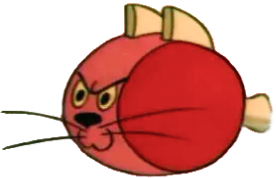


Use fewer tokens.
Find answers faster.
Team assets that continuously improve future design and AI collaboration.
Basic RAG
User query
↓
Retrieve raw materials
↓
AI assembles an answer
LLM Wiki
VS
Raw materials
↓
Extract design facts
↓
Designer validates
↓
Formalize knowledge
↓
Reuse by Designer / Agent / Skill
AI


Unlike RAG, a UX Wiki gives AI curated, validated design knowledge.
Conclusion
Models and tools will evolve. Designers remain central—understanding business and users, defining problems, making trade-offs, and building reliable workflows.
AI
Scales Execution
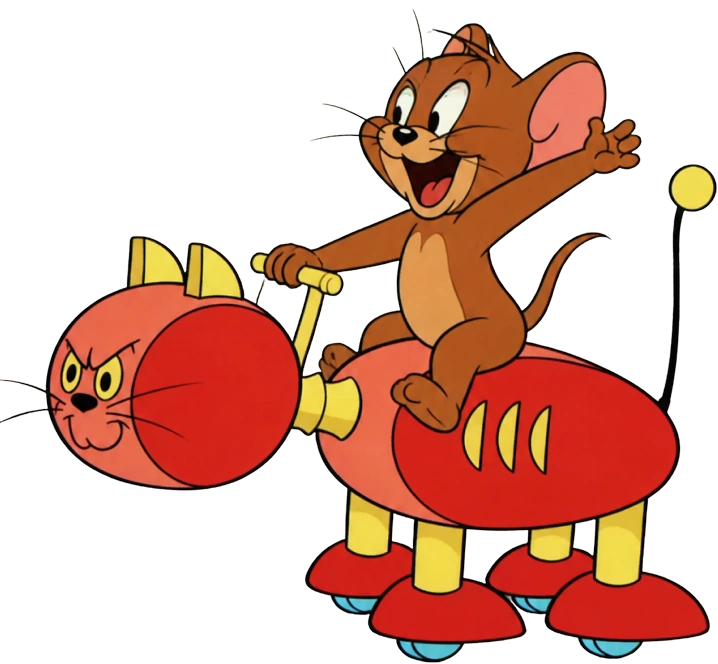
Designer
Sets Product Direction
Why a Wiki, Not Just RAG

1
2
3
4